@aviation_watch
The Second Project
On 31/10/2019, I published a first post describing a project to build my own Flieger inspired by the Stowa Flieger Classic 6498.
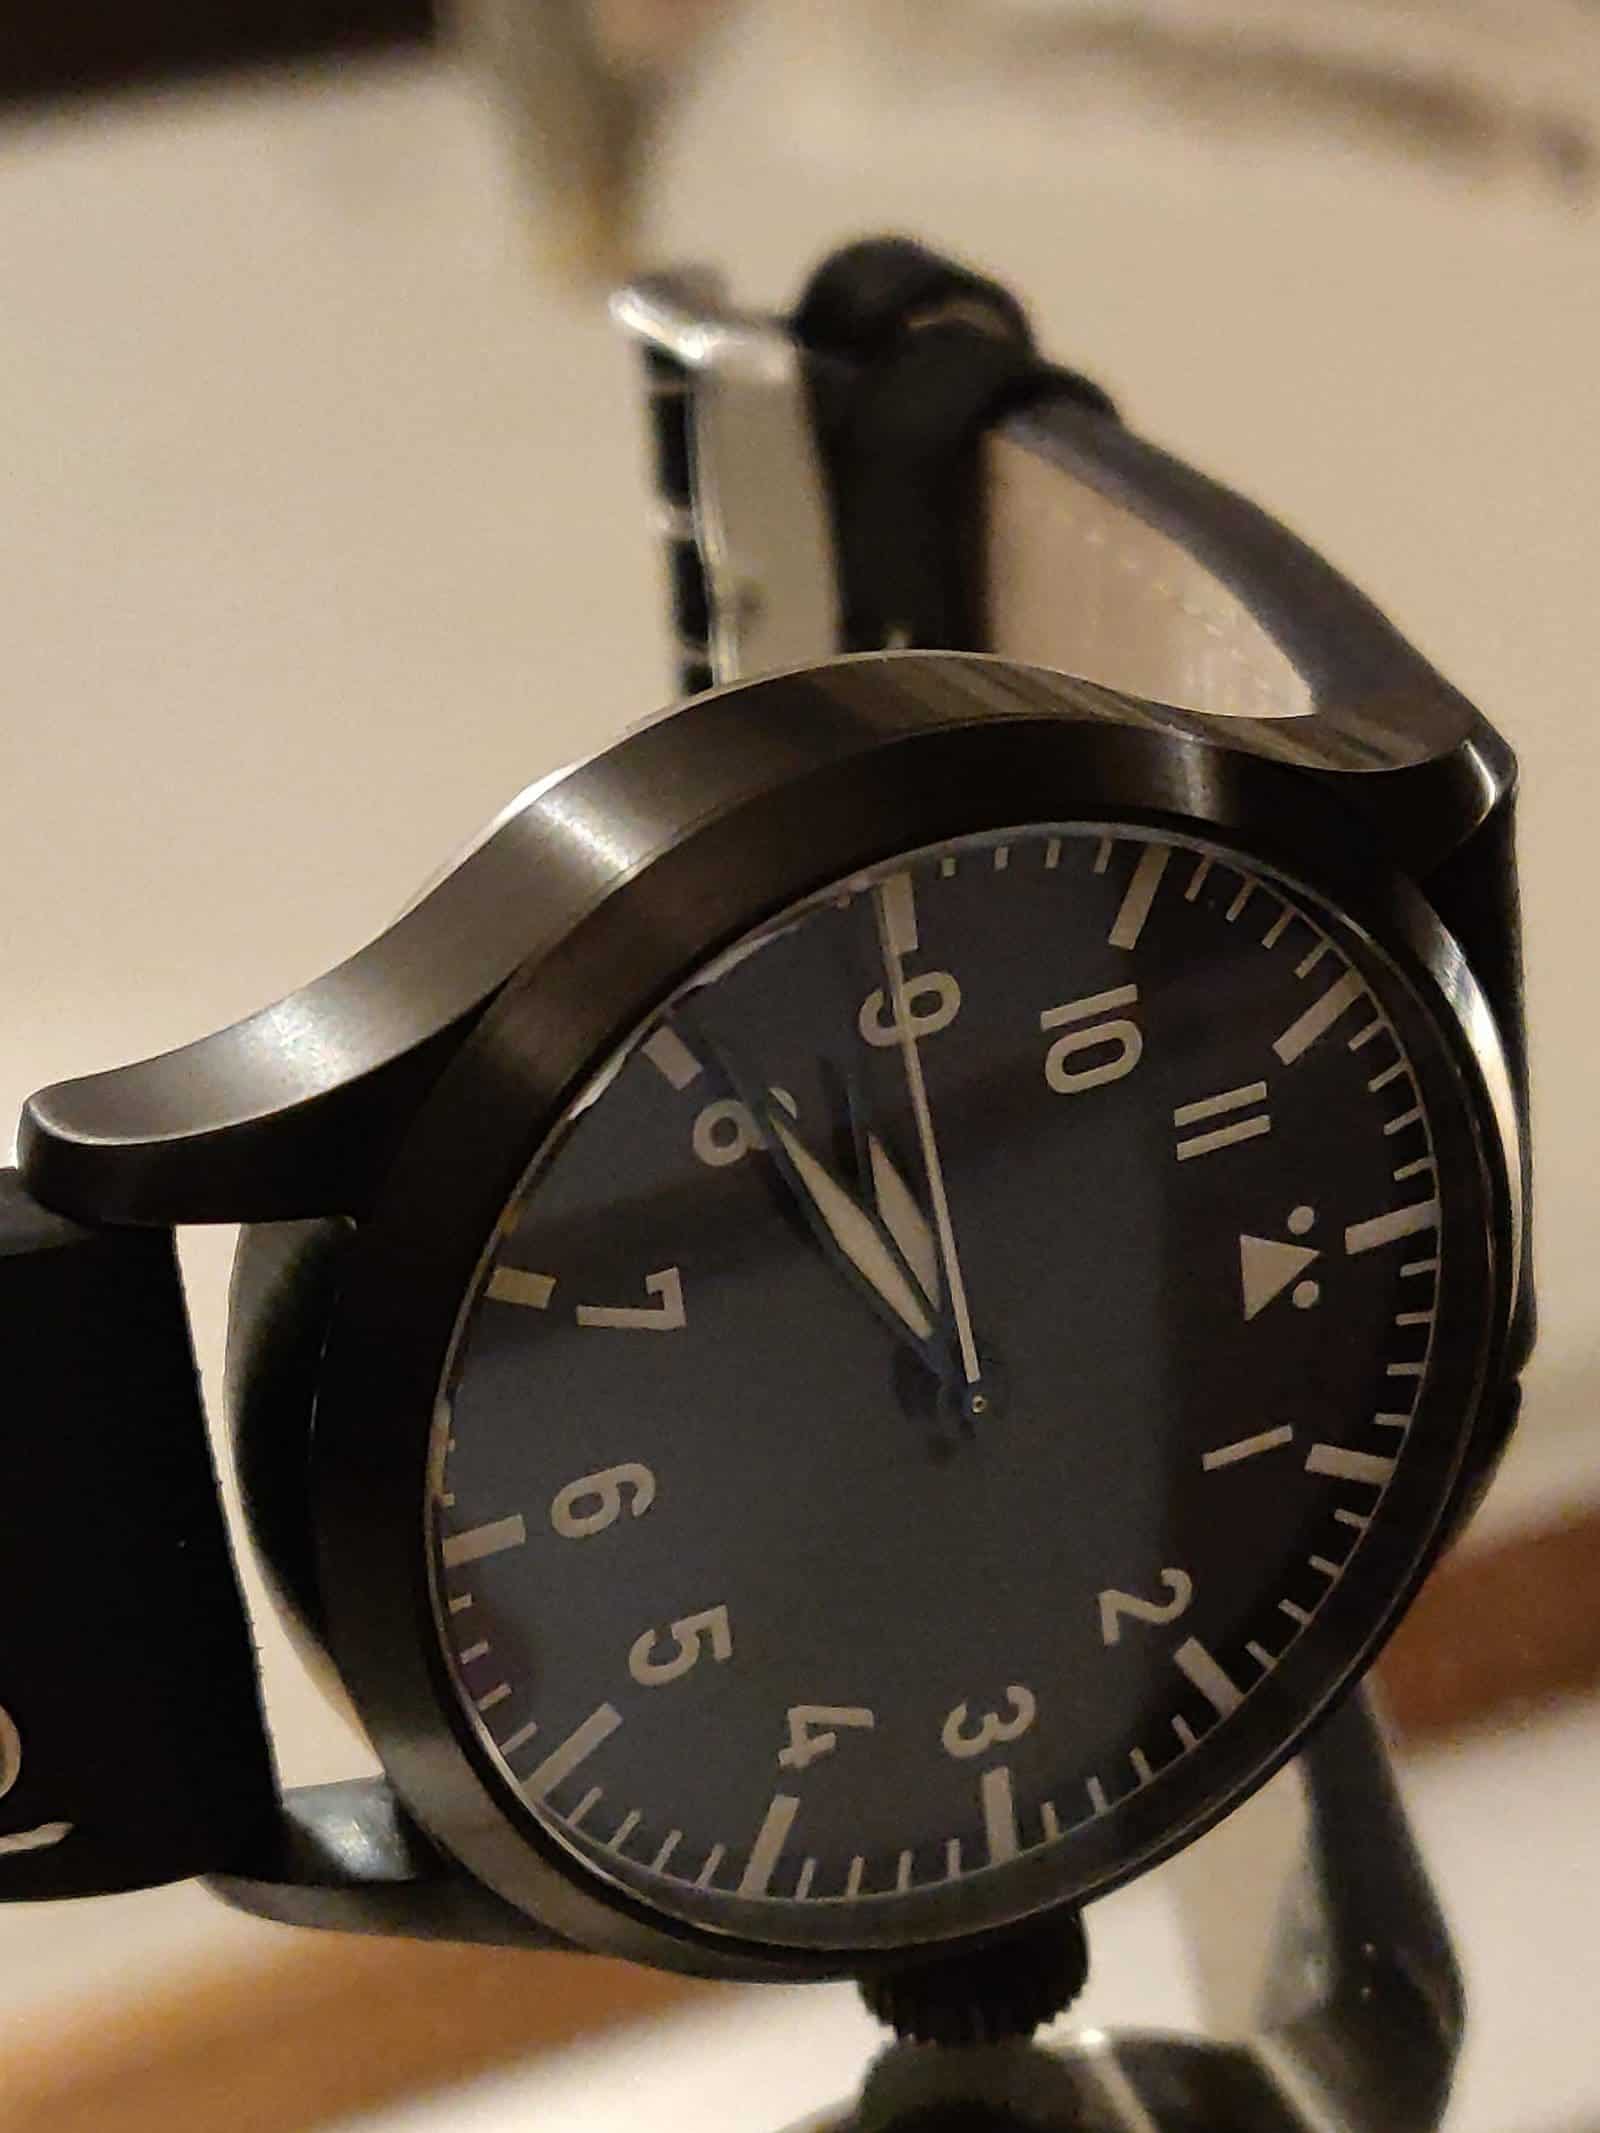
In this post I describe the just completed assembly of a second Flieger, truer to the original design of the Type A, i.e. with a central seconds hand, and which uses SEIKO’s robust automatic NH35 caliber.
Both watches use relatively easy-to-procure components, via the Internet, as well as being quite affordable, and the build only requires basic tools. The assembly is within the grasp of any aficionado, in my opinion.
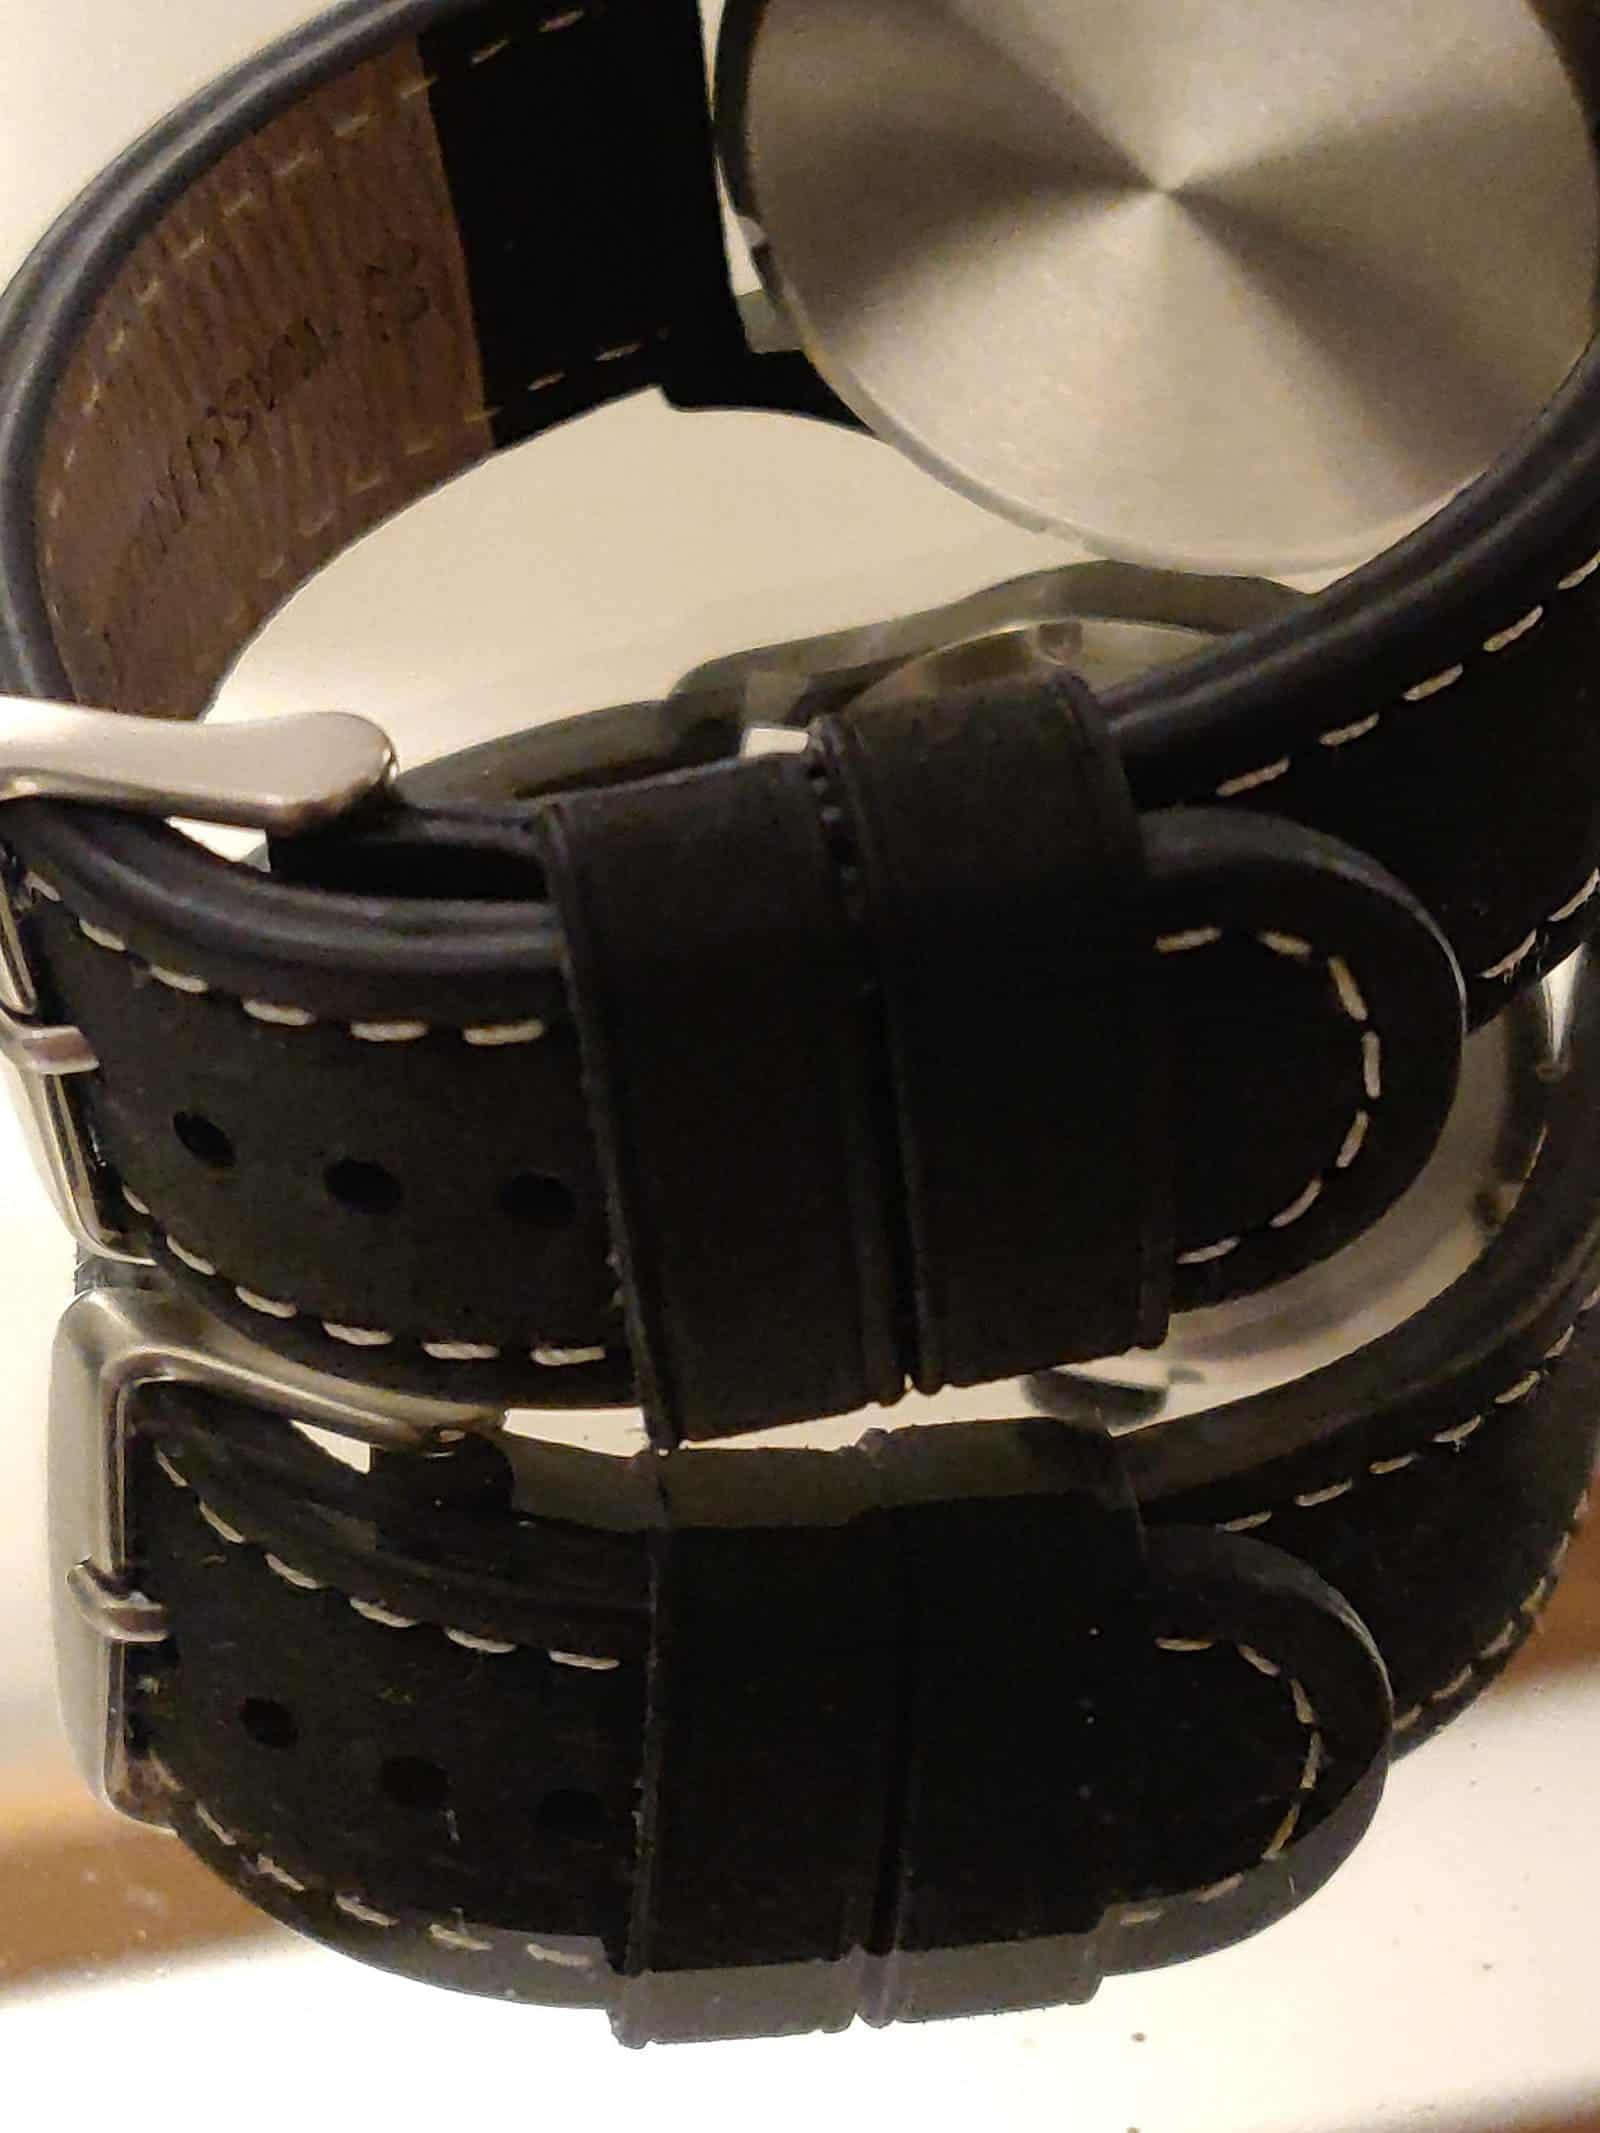
In the following image I show both watches, appropriately over an air navigation chart.

The Components
In light of my experience with the first project, I went back to eBay, specifically to the Tactic TicTac Montres store, operating out of France and which offers combined shipping plus a great service overall. In this shop we can find pretty much everything needed, except for the caliber. Below, I list and show the components.
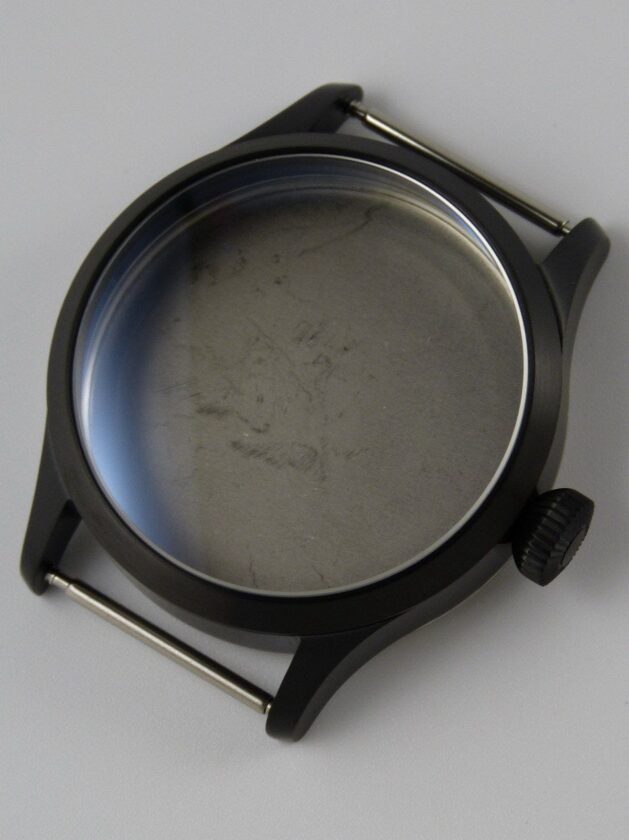
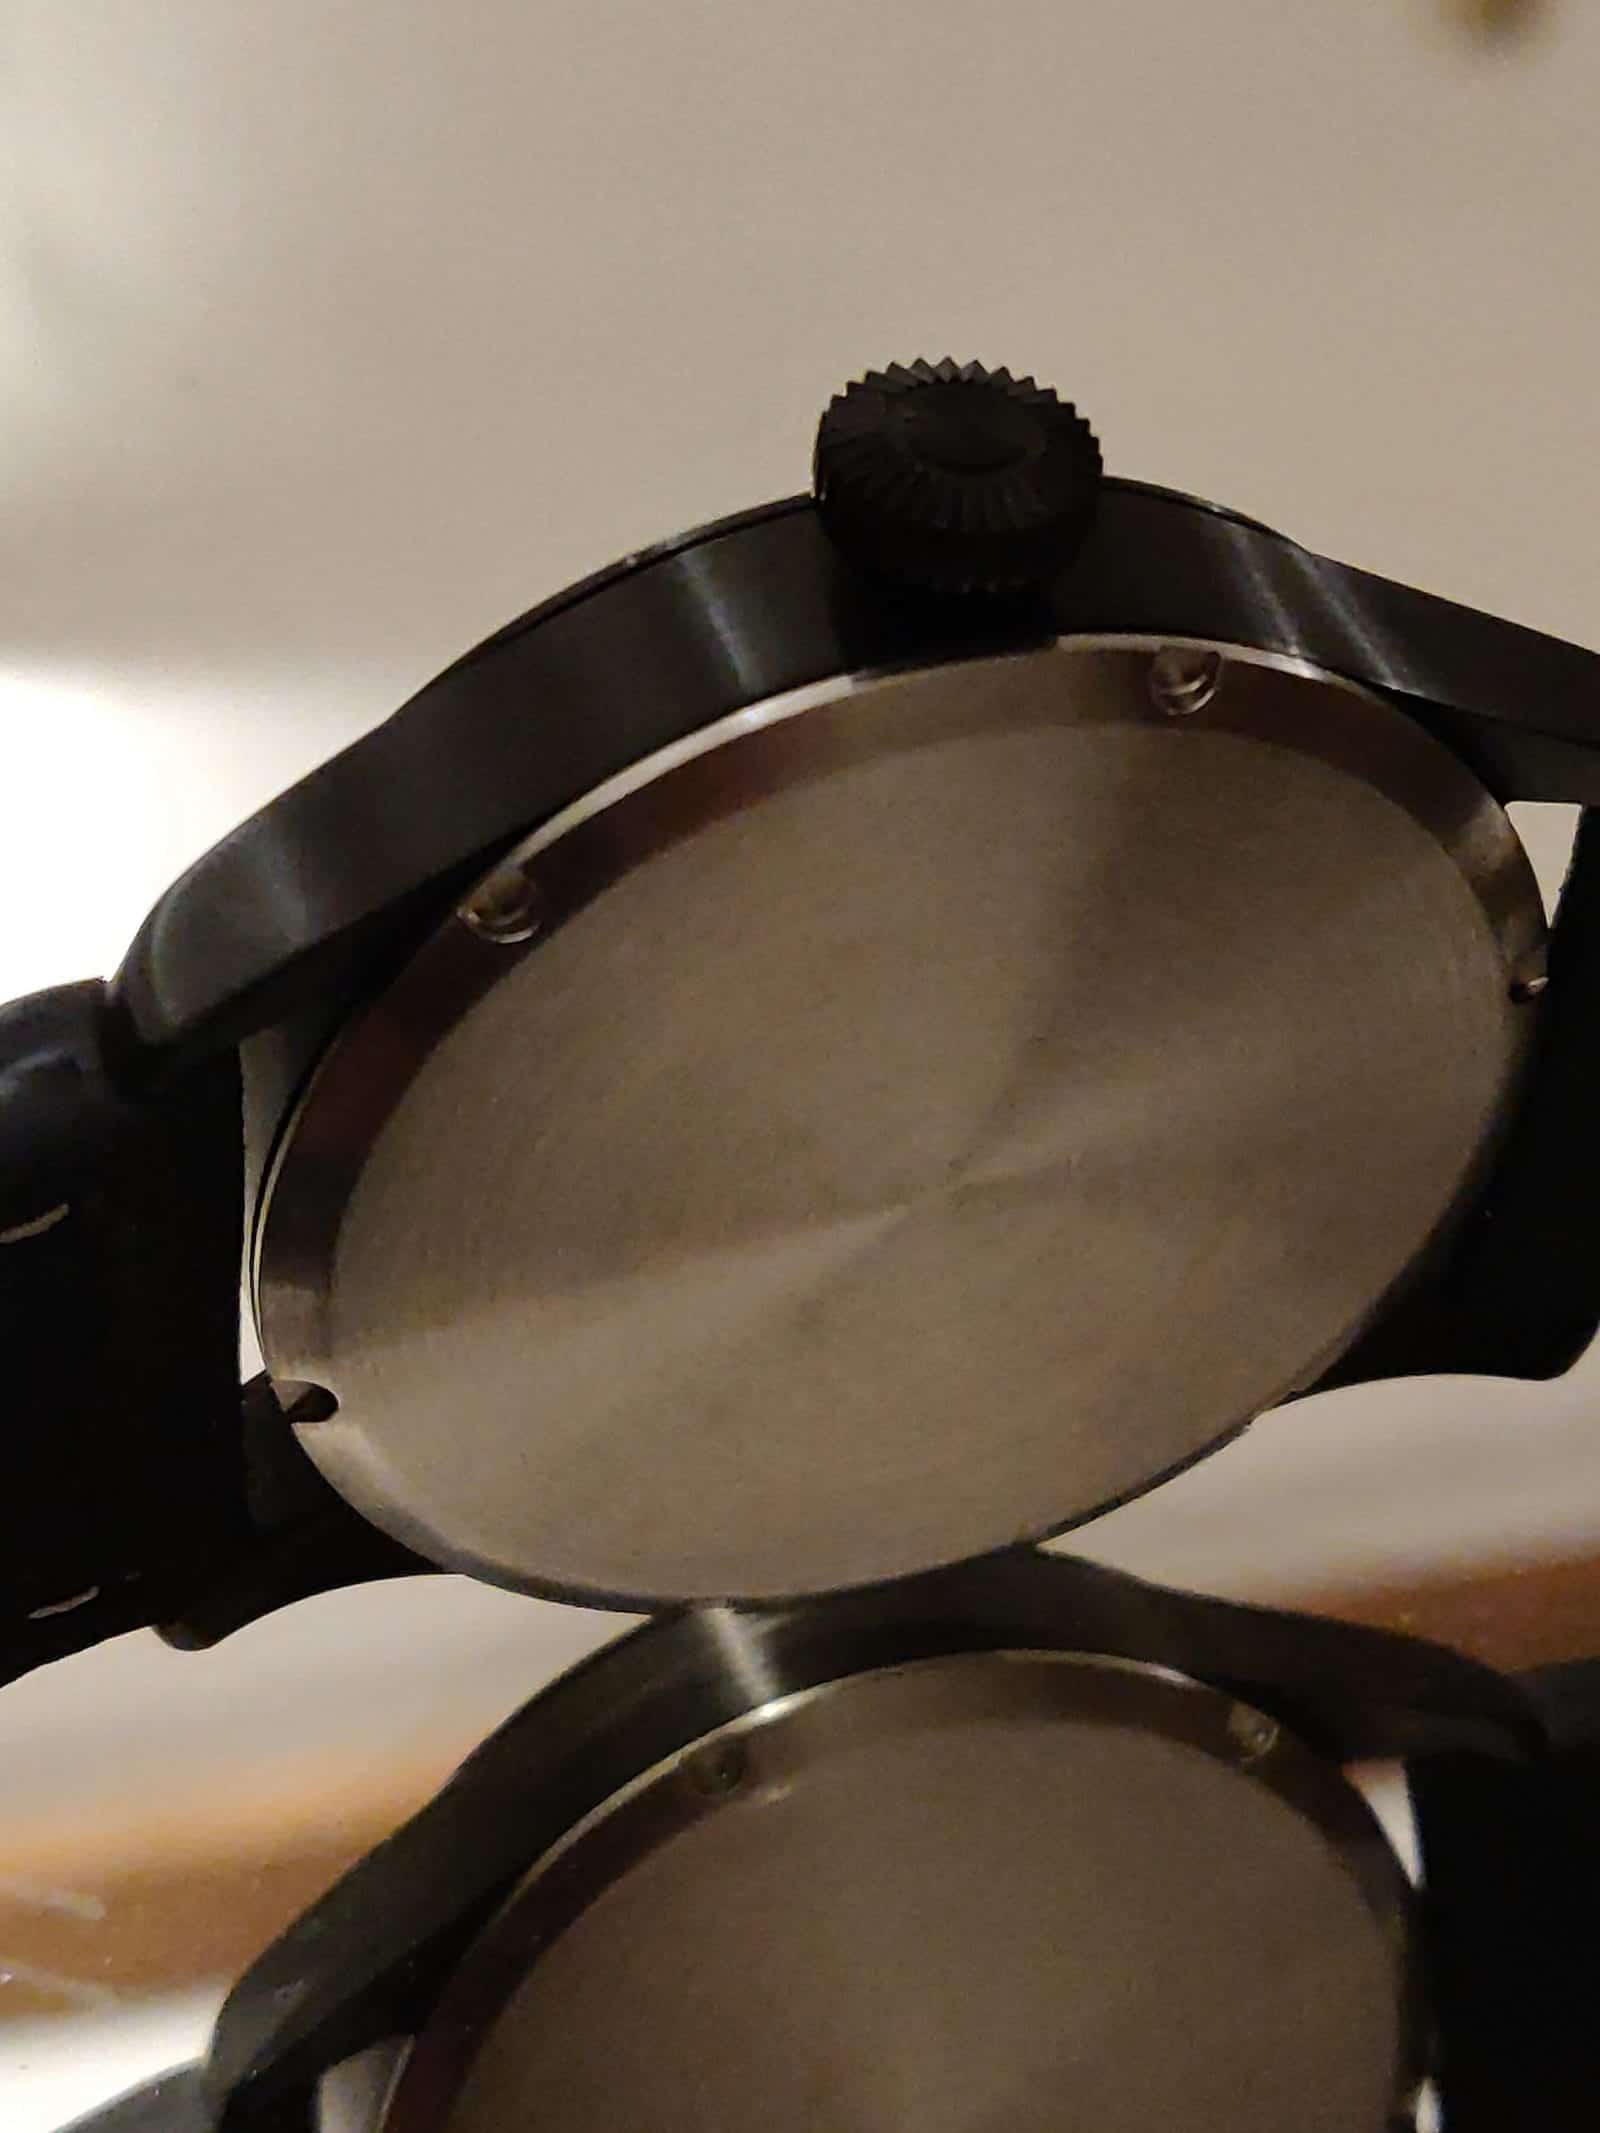
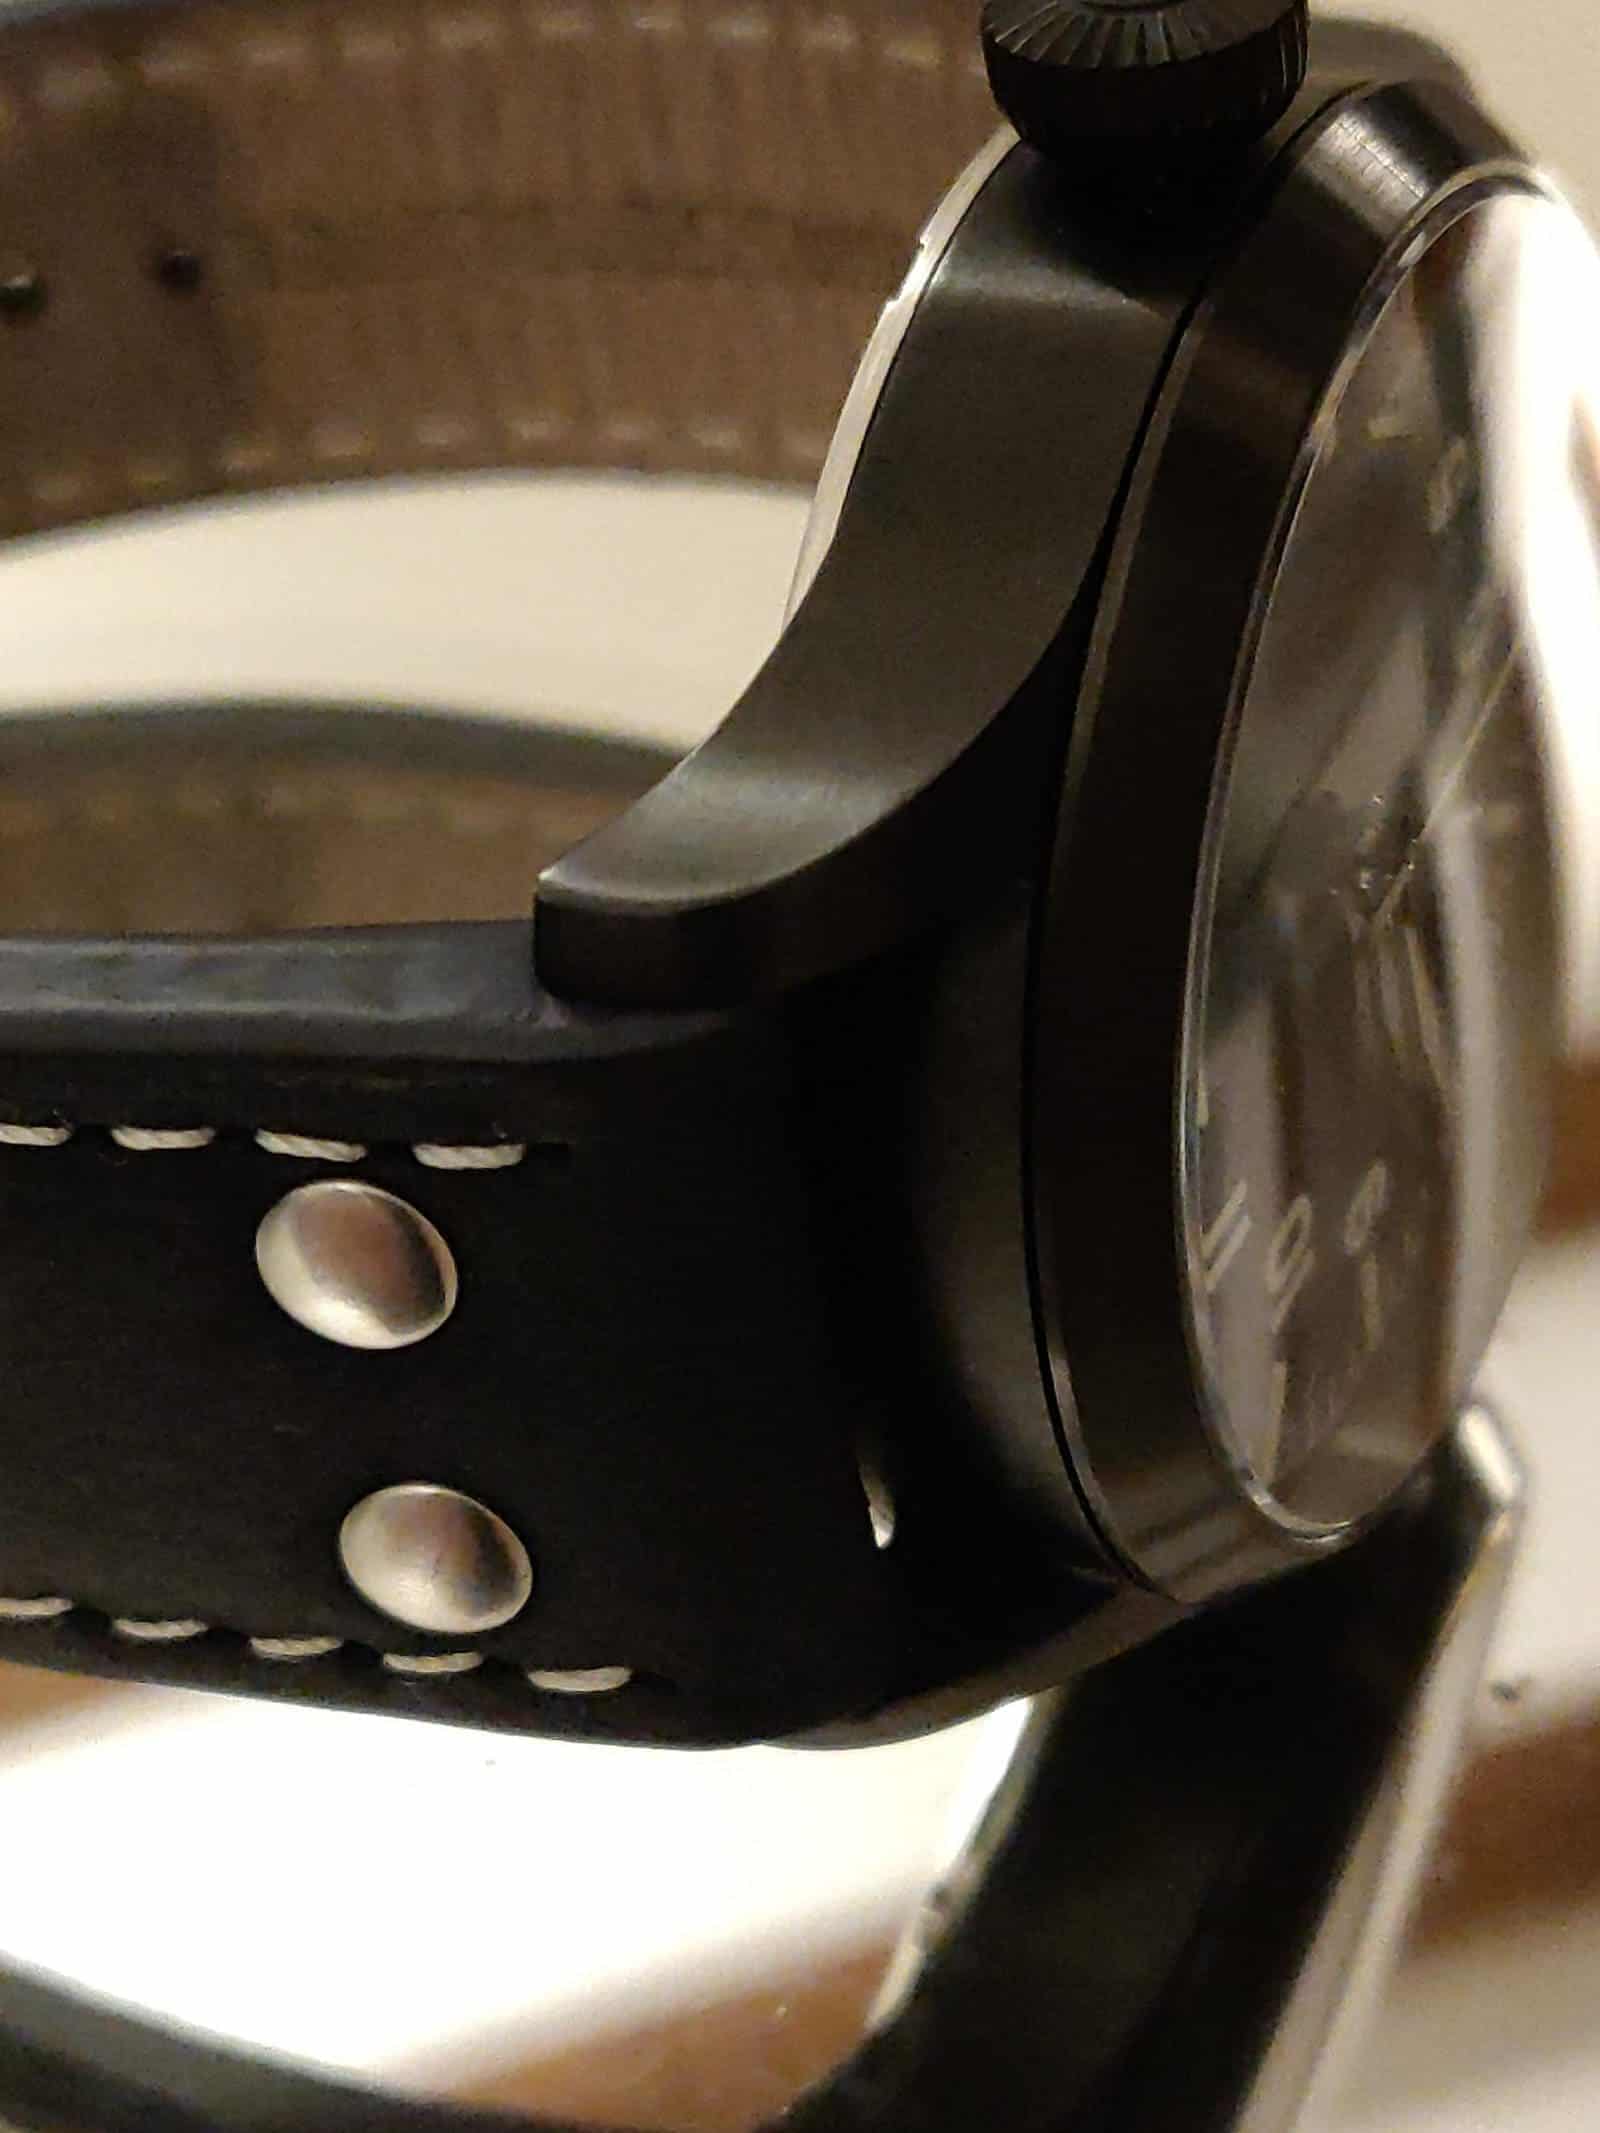
A 316L stainless steel 41 mm case with a matte black PVD finish, double-domed sapphire crystal with anti-reflective coating, and a steel screw-down case back with concentric polishing. The case includes a plastic clamping ring designed specifically for the NH35 caliber. It is constructed of three pieces, for easy assembly of the caliber, although in this case it is not necessary to remove the bezel and sapphire, as the caliber is inserted from the rear of the watch. This version of the case comes with a diamond crown, appropriate for the proposed pilot’s watch theme. Water resistance is 5 ATM. The store offers many variations of the case in this size, adapted to different calibers, and with different finishes. The actual cost of this particular case, with the sapphire, is €125. This case costs a little more than the version for the Unitas 6498, or clone, which is priced at €120.
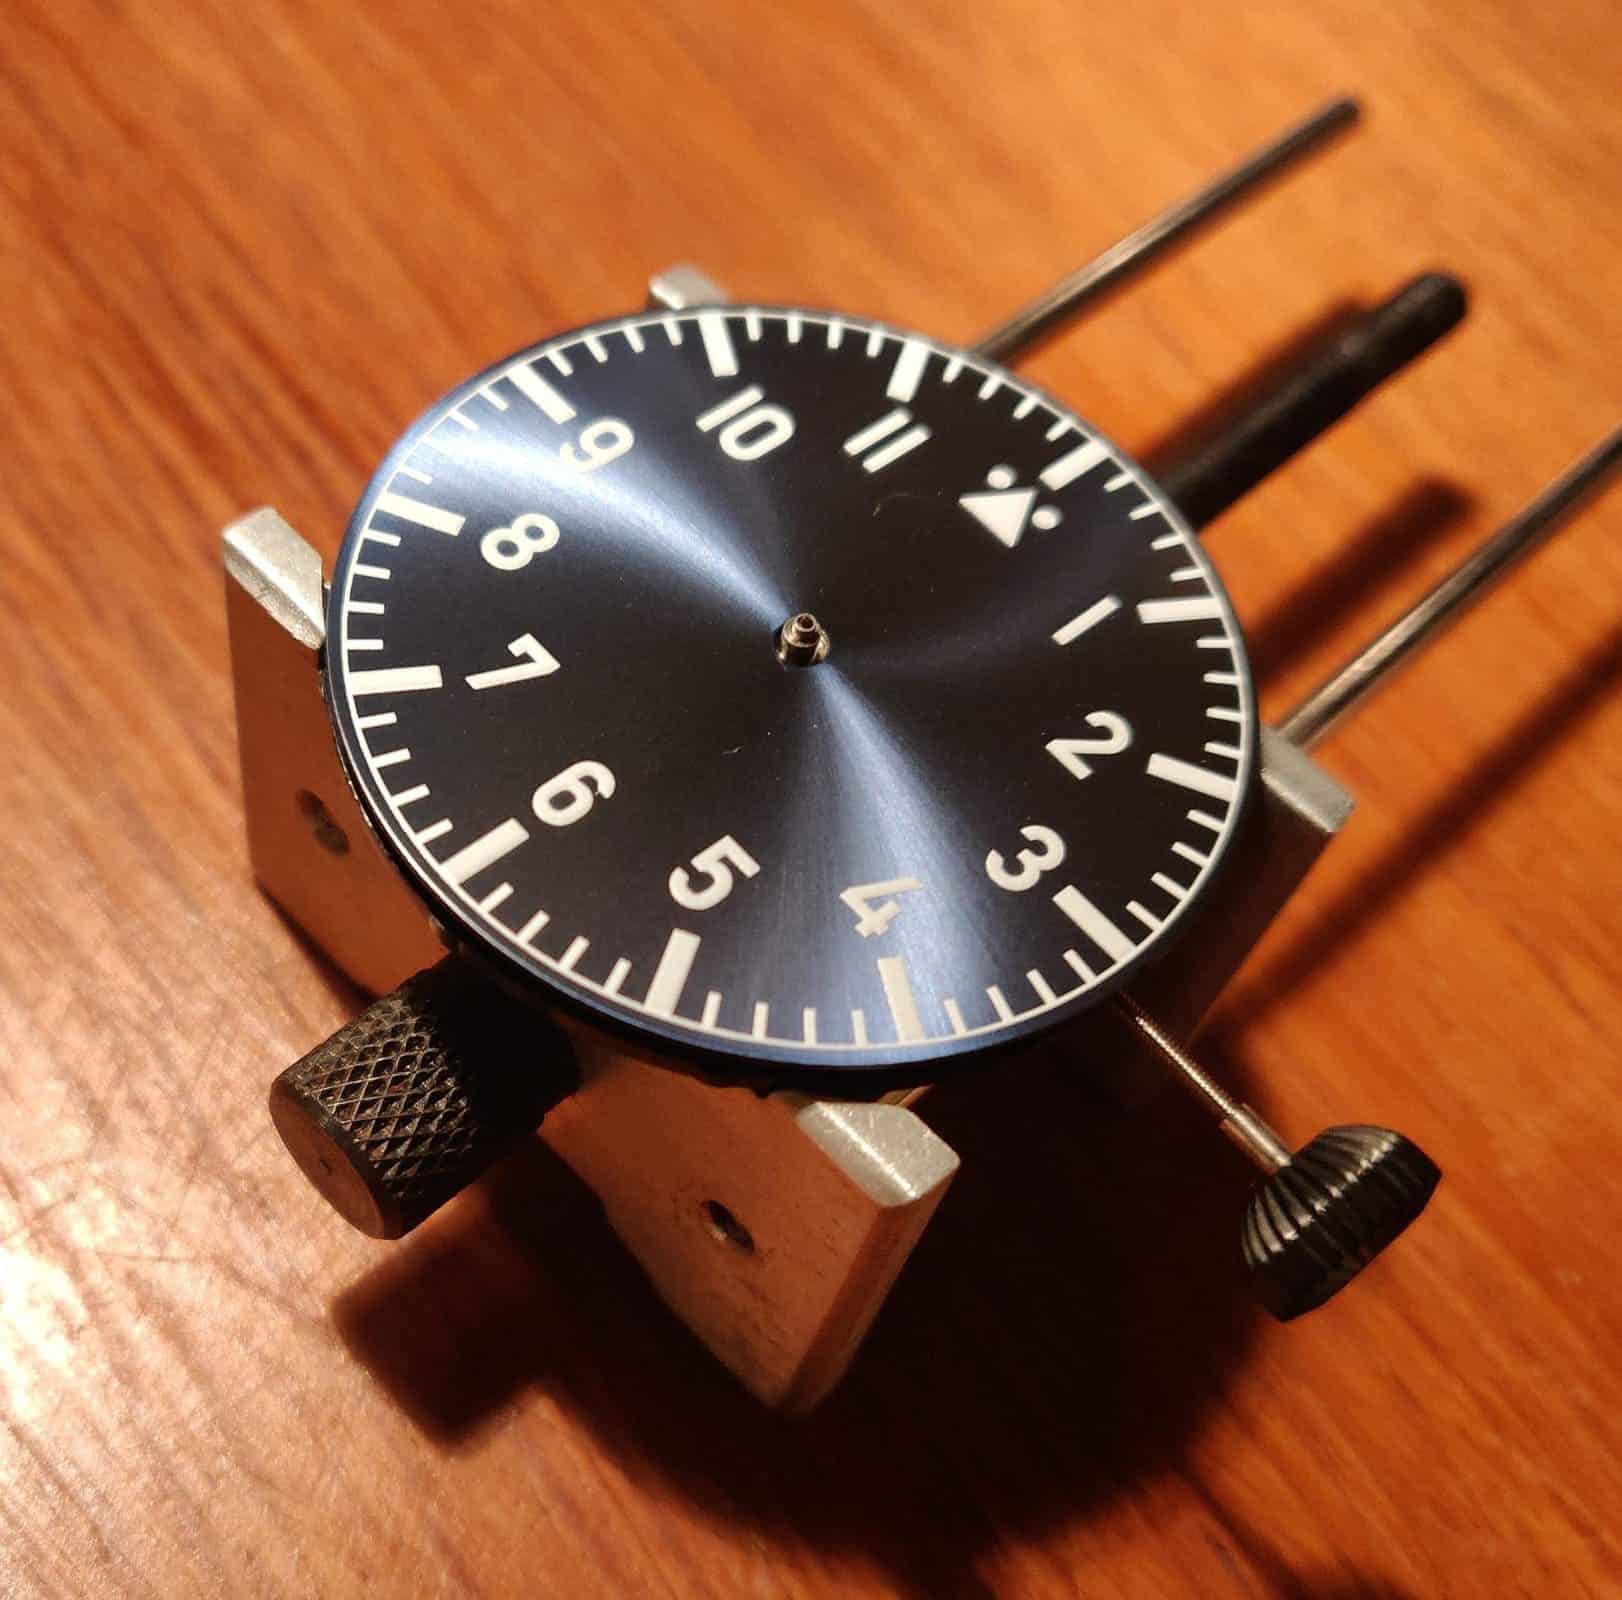
The dial and hands come from the same vendor. The finishes are decent. The hand edges are blued steel (heated) with lume inserts, with the dial markers also lumed, both with high-quality BGW9 The dial chosen for this watch is a dark sunburst blue, although it appears decidedly black in interior lighting. The size of the dial is perfectly adjusted to the case, which is a perfect size for this type of watch, I believe. The current cost of the dial and hands combo is €99.

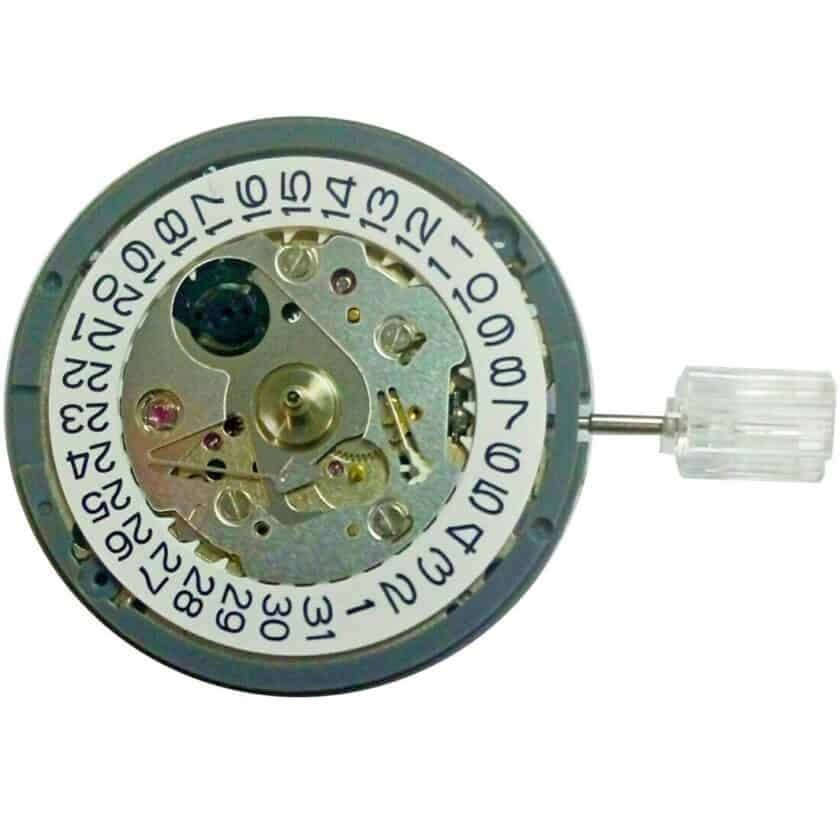
The caliber, SEIKO’s NH35a in this case, is very easy to find. A quick search on eBay will yield numerous offers, from about €30 approximately. Notably, the vendors located in Europe tend to ship quicker, if this is an important factor, although they tend to demand somewhat higher prices.

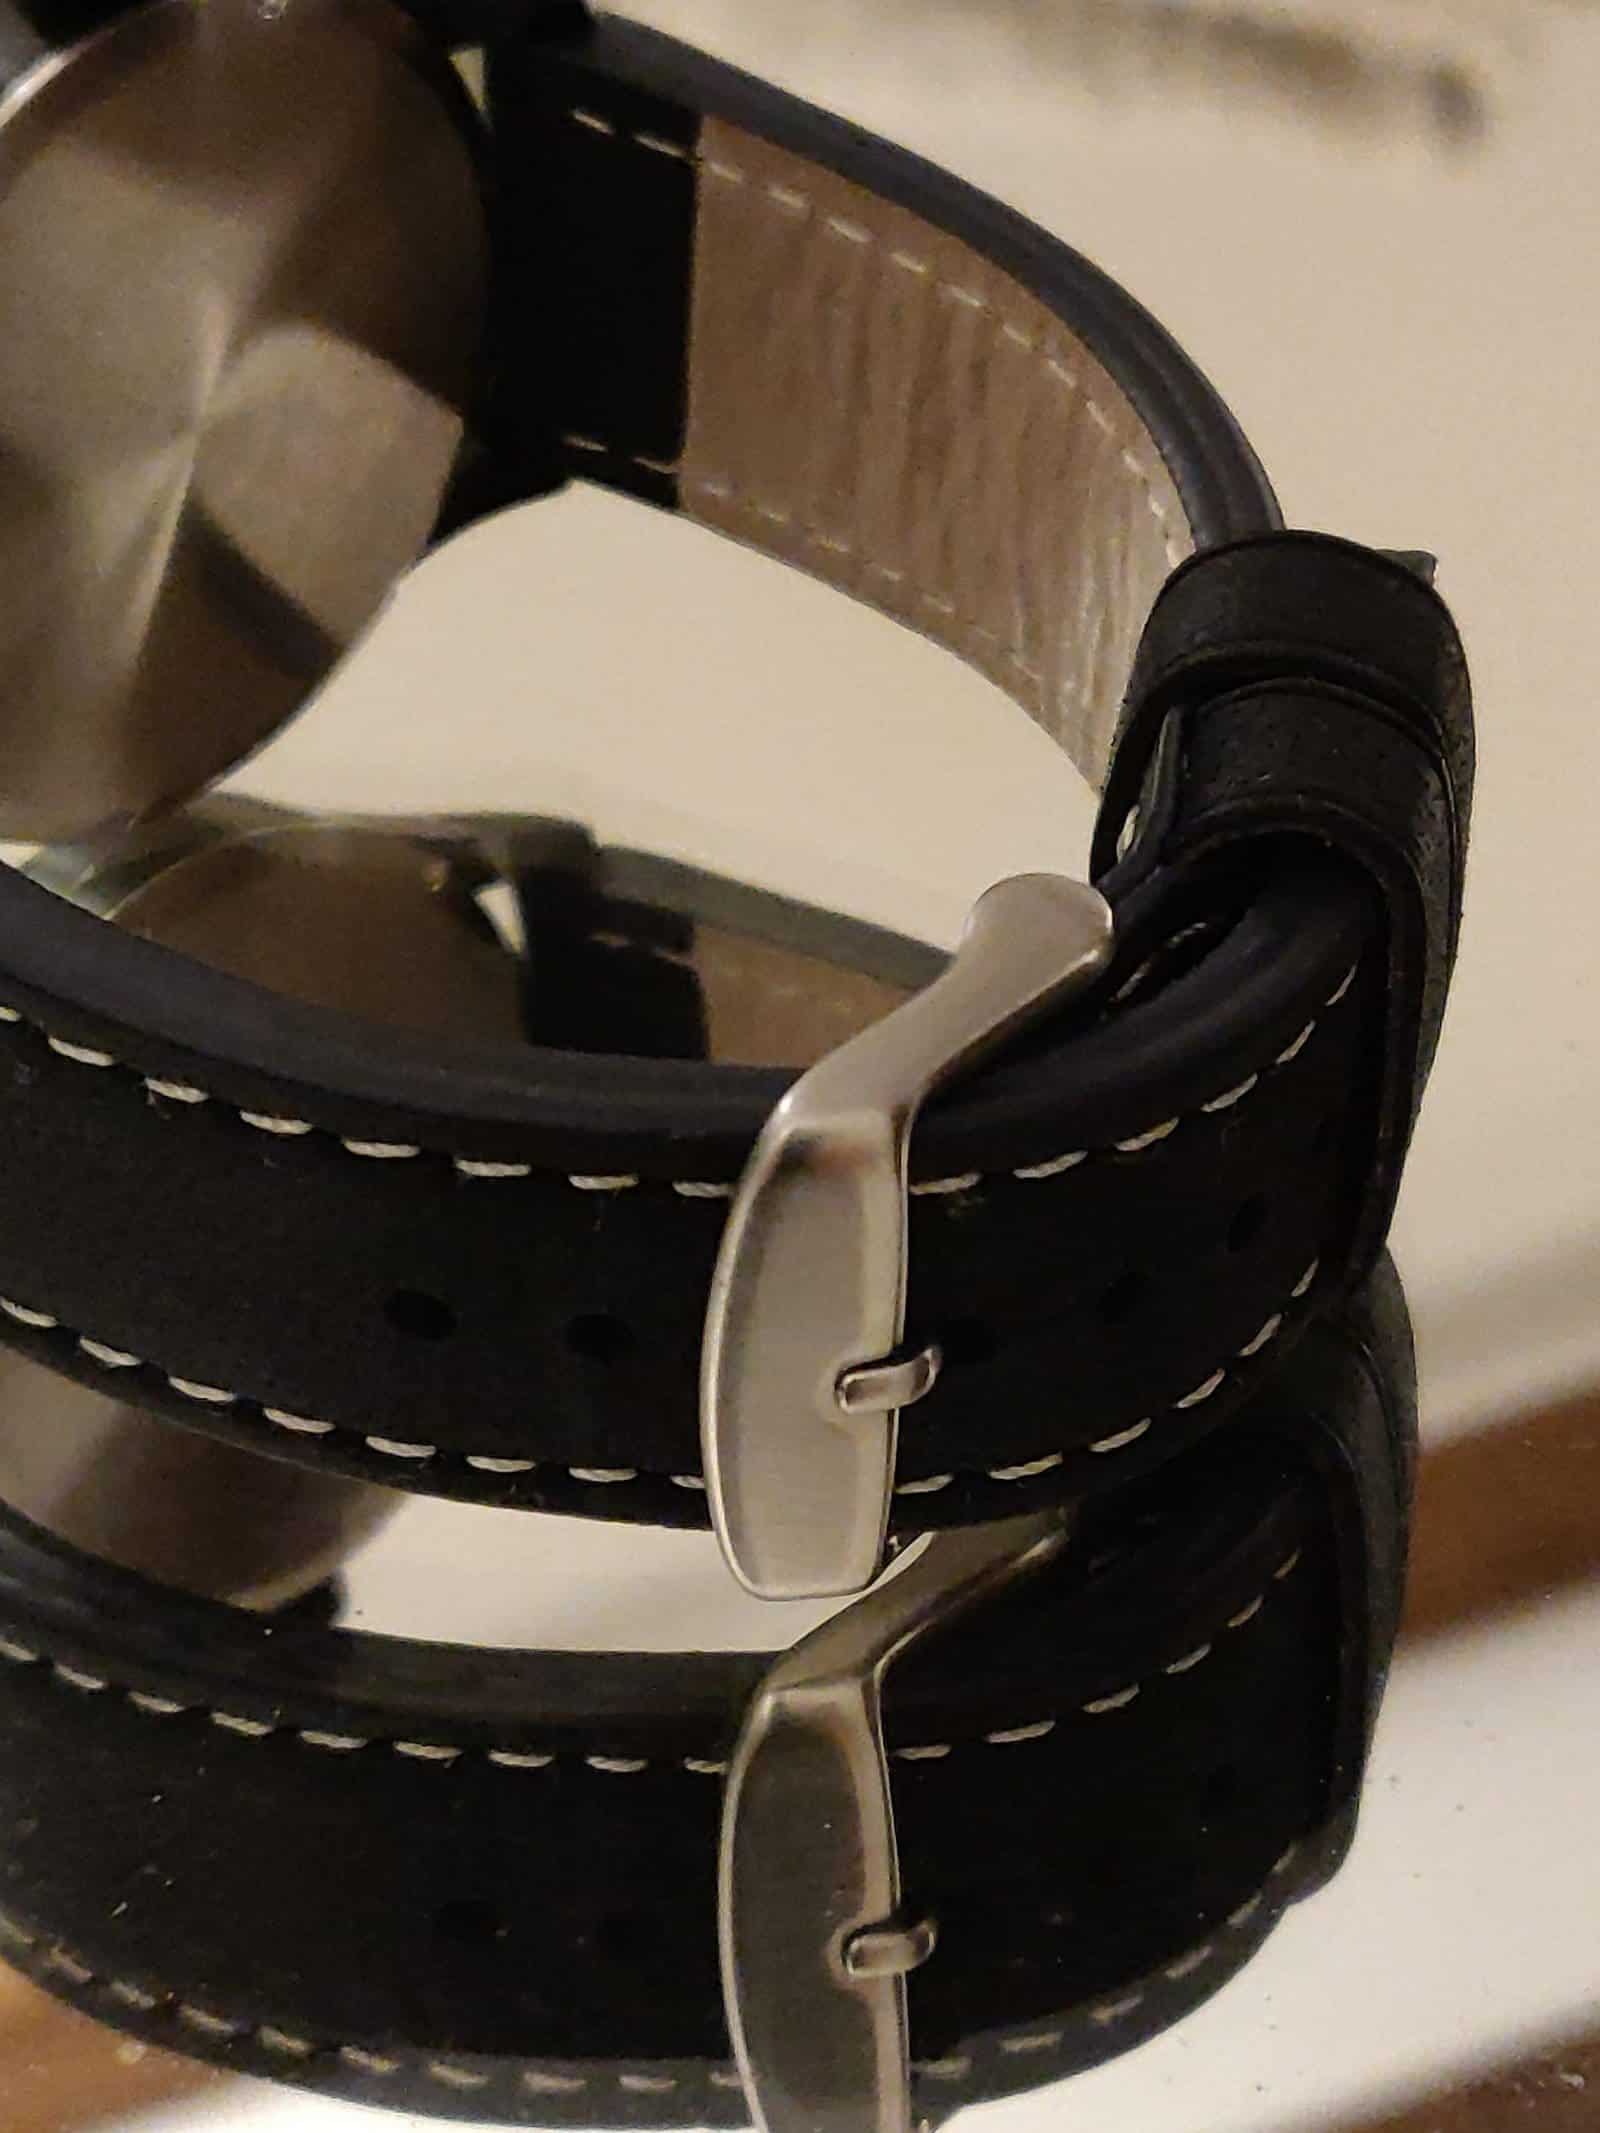
Lastly, I chose the same riveted aviator strap used in the previous project, made from buffalo leather and manufactured in Germany. In this case, I chose the grey one. You might have noticed, however, that the image above showing both watches shows this Flieger version with the blue strap that I had purchased for the prior build, while the newly acquired grey one is now fitted on the small-seconds Unitas 6498 Flieger. The strap has a modest price of around €18, with shipping included, although the seller only ships to the UK. Anyway, should you be able to find it elsewhere, this is the strap in question. I attach an image below for the eBay listing. In real life, the blue one is quite a lot darker than depicted in the image.

In total, the cost of the parts for this project, including shipping, comes to a total of about €275, which I consider a more than reasonable sum for the quality of the selected components.
The Assembly
First I want to introduce the tools required for the project, which are shown in the following image.

Among them I include:
1. A micro-fibre cloth to remove fingerprints and dust from the case.
2. Latex gloves, to handle the caliber.
3. A loupe.
4. Tweezers to manipulate the dial and hands. I prefer to use the carbon fibre ones.
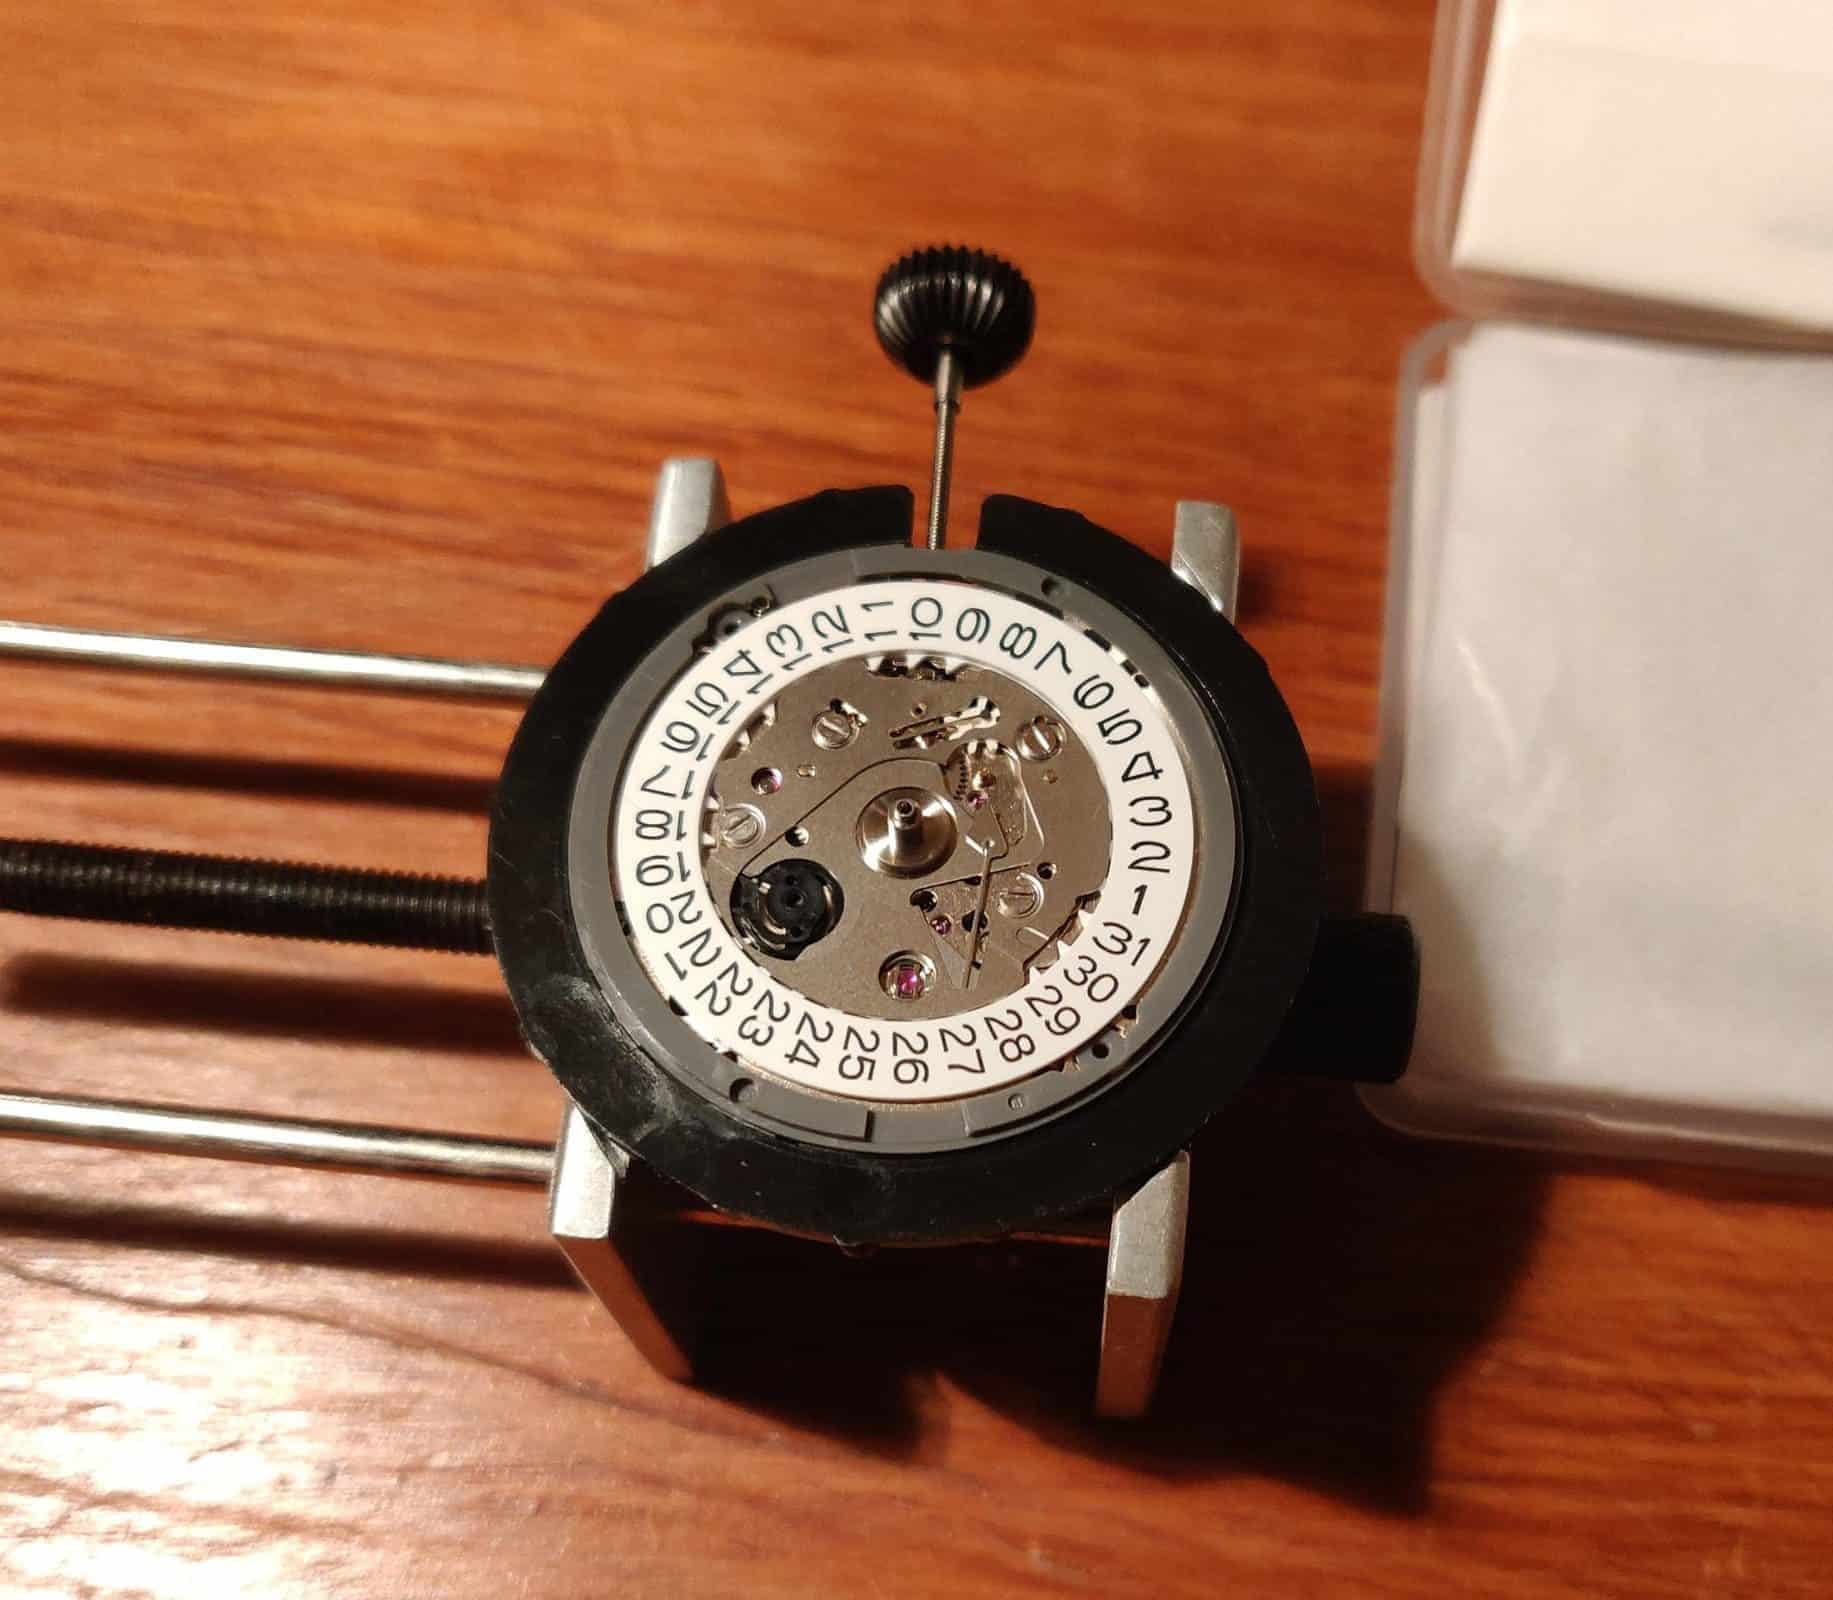
5. A movement holder. The image shows the NH35 specific brass holder, but in this case it is better to use a generic one since the caliber is inserted into the plastic clamping ring very early in the process.
6. A movement cushion.
7. Hand fitting tools, but potentially this could be done with tweezers, albeit there is a greater risk of scratching them.
8. A blower and rodico to clean during the assembly process. It is virtually impossible not to attract dust particles.
9. A case back fastening tool.
10. A spring bar tool to attach the strap.
11. The image does not show the calipers, pliers and file that are necessary to adjust the size of the stem.
The steps to assemble the watch are:
1. Place the caliber in the plastic case clamping ring, and then place it in the movement holder.
2. Place the dial on the caliber. Although there is no visible date window in this case, it is good practice to advance the movement until the date changes, i.e. the watch marks midnight, and keep the caliber hacked while placing the dial (and hands).
3. Then the hand installation takes place, which is the most delicate part of the process. After the installation of each one, we check that they turn freely, and as we add the minute and second hands, we check that they are indeed set correctly and that they do not collide with one another. It is essential to use the blower and the rodico to thoroughly clean the dial and hands throughout this stage and prior to insertion into the case.
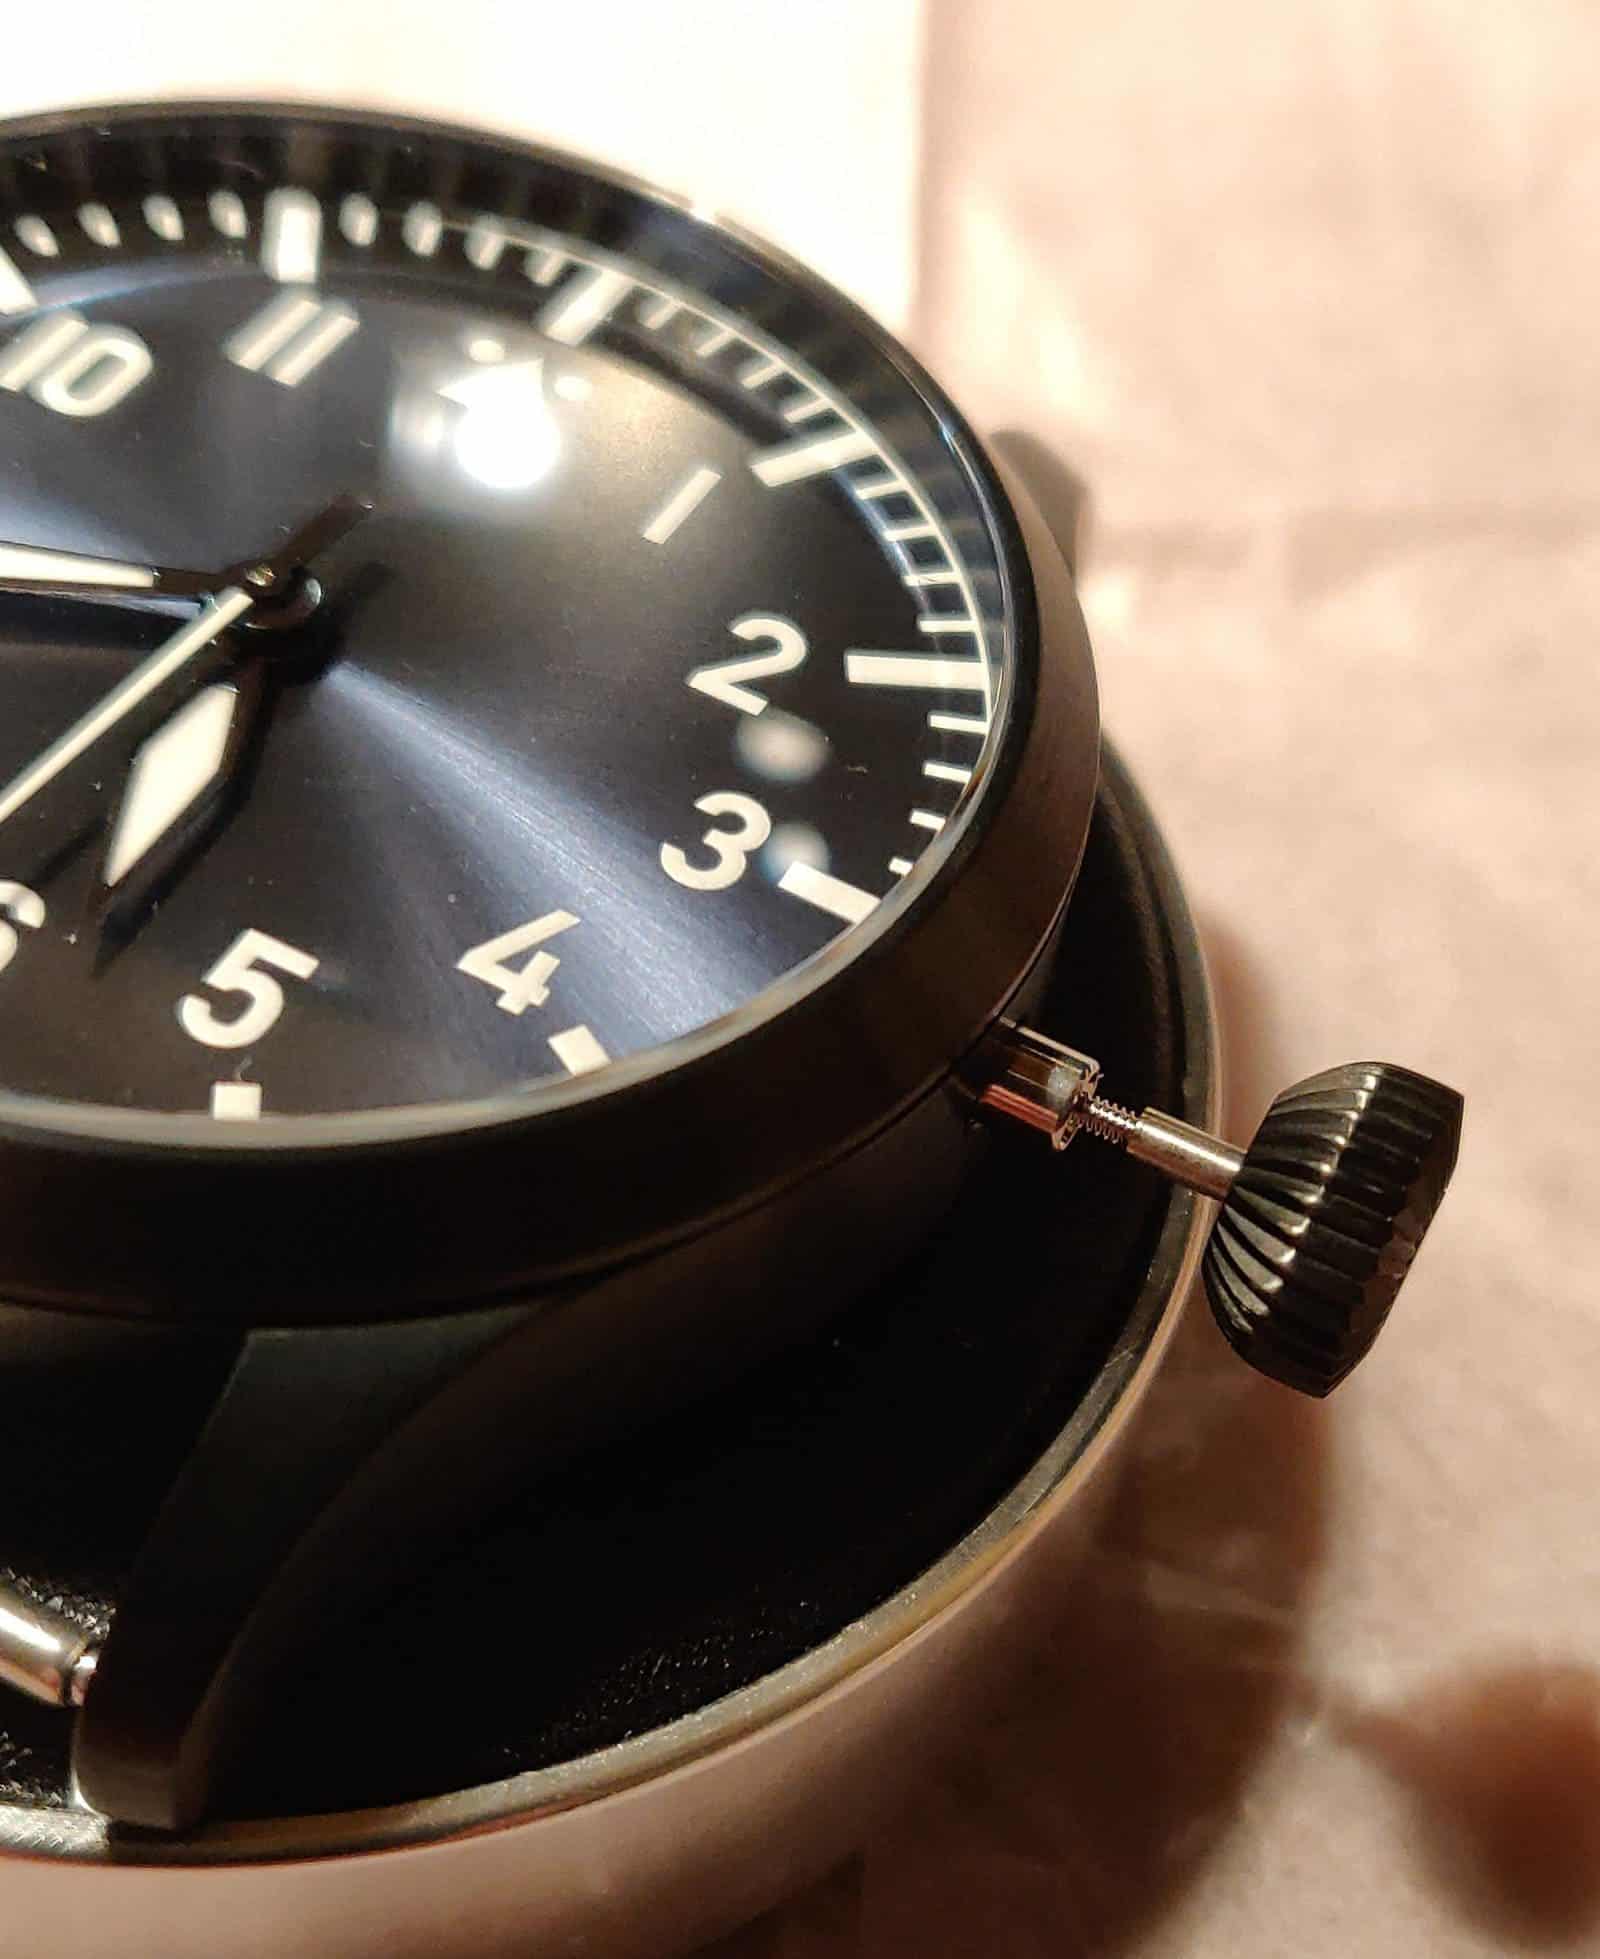
4. The next step involves removing the stem, and then depositing the assembly on the movement cushion, face up, and then placing the case on top of it. Once inside the case, we turn it over, and reinsert the stem. We use the stem and pressure on the clamping ring to centre the dial.
5. Now is a good time to regulate the caliber, if needed. I prefer to do this at this point in the process, i.e. after handling the caliber, and once it is fixed inside the case. The procedure has to be performed very delicately, and patiently. Furthermore, with this type of movement, luck will definitely play a part. This time, I was fortunate and obtained some very acceptable results, with an average of +7 seconds/day across four positions (dial up, dial down, crown up and crown down). It is advisable to regulate the NH35 movement between 10-60 minutes after a full wind, which is 8 barrel turns, or 55 crown turns.
6. The following step is to measure the stem excess, cut it and file it before reinstalling the crown. The stem and crown assembly are then reinserted into the movement. It is always advisable to cut less than necessary, and repeat the process as many times as required to obtain perfect length. While this step can happen sooner, I prefer the full length stem while undertaking the prior steps.
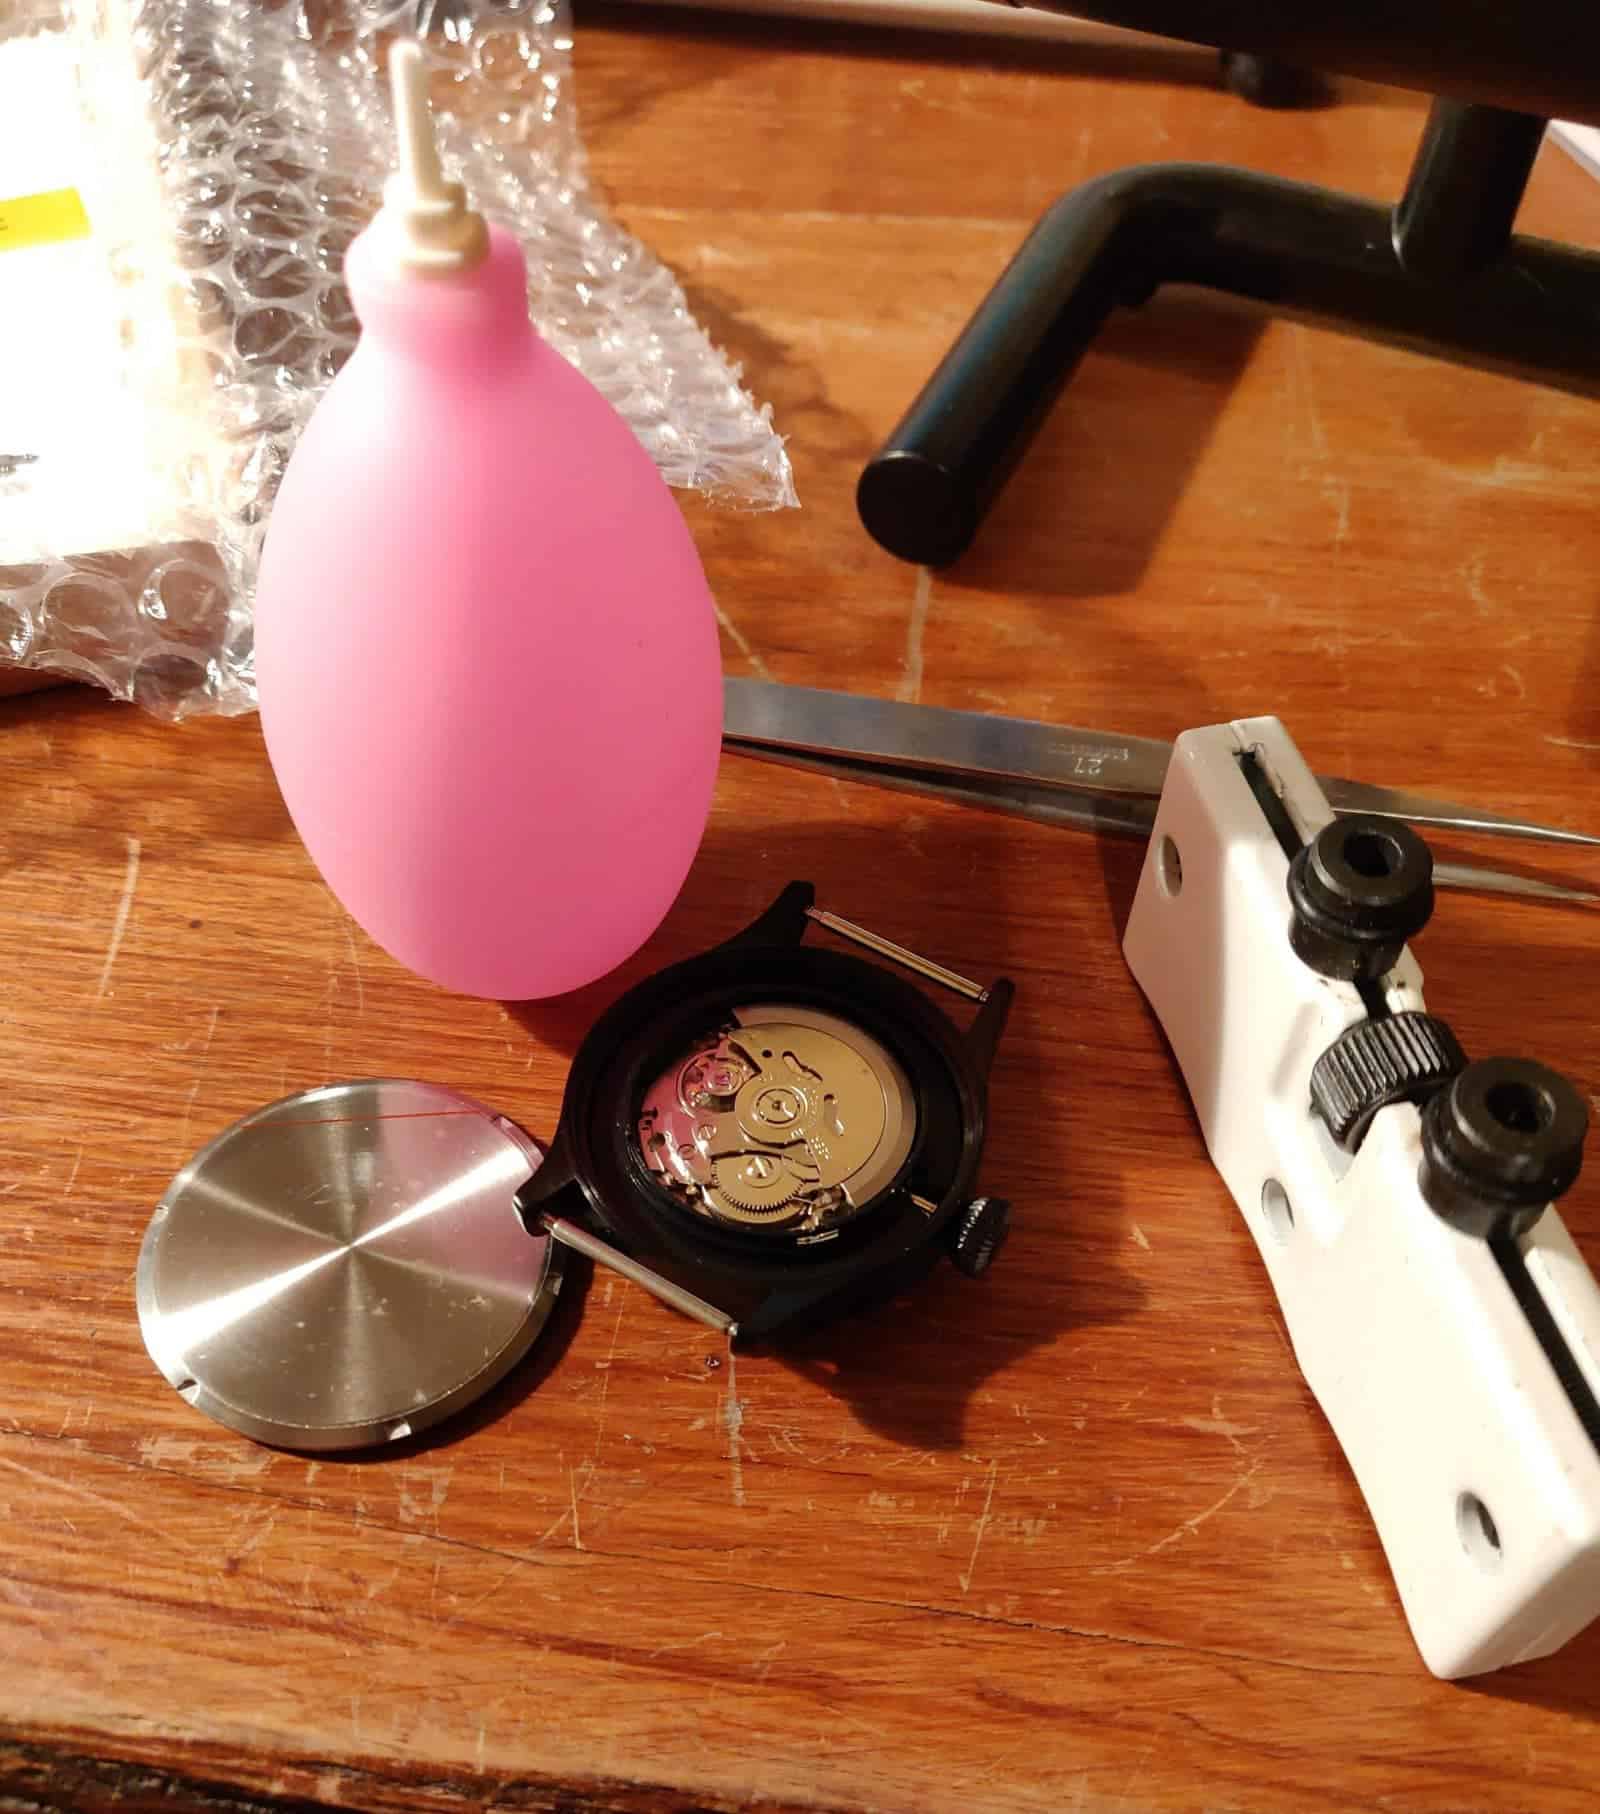
7. The next step involves a thorough clean of the mechanical parts of the watch, before attaching the case back.
8. Finally, we add the strap.
The following images show the described main steps.


The Result
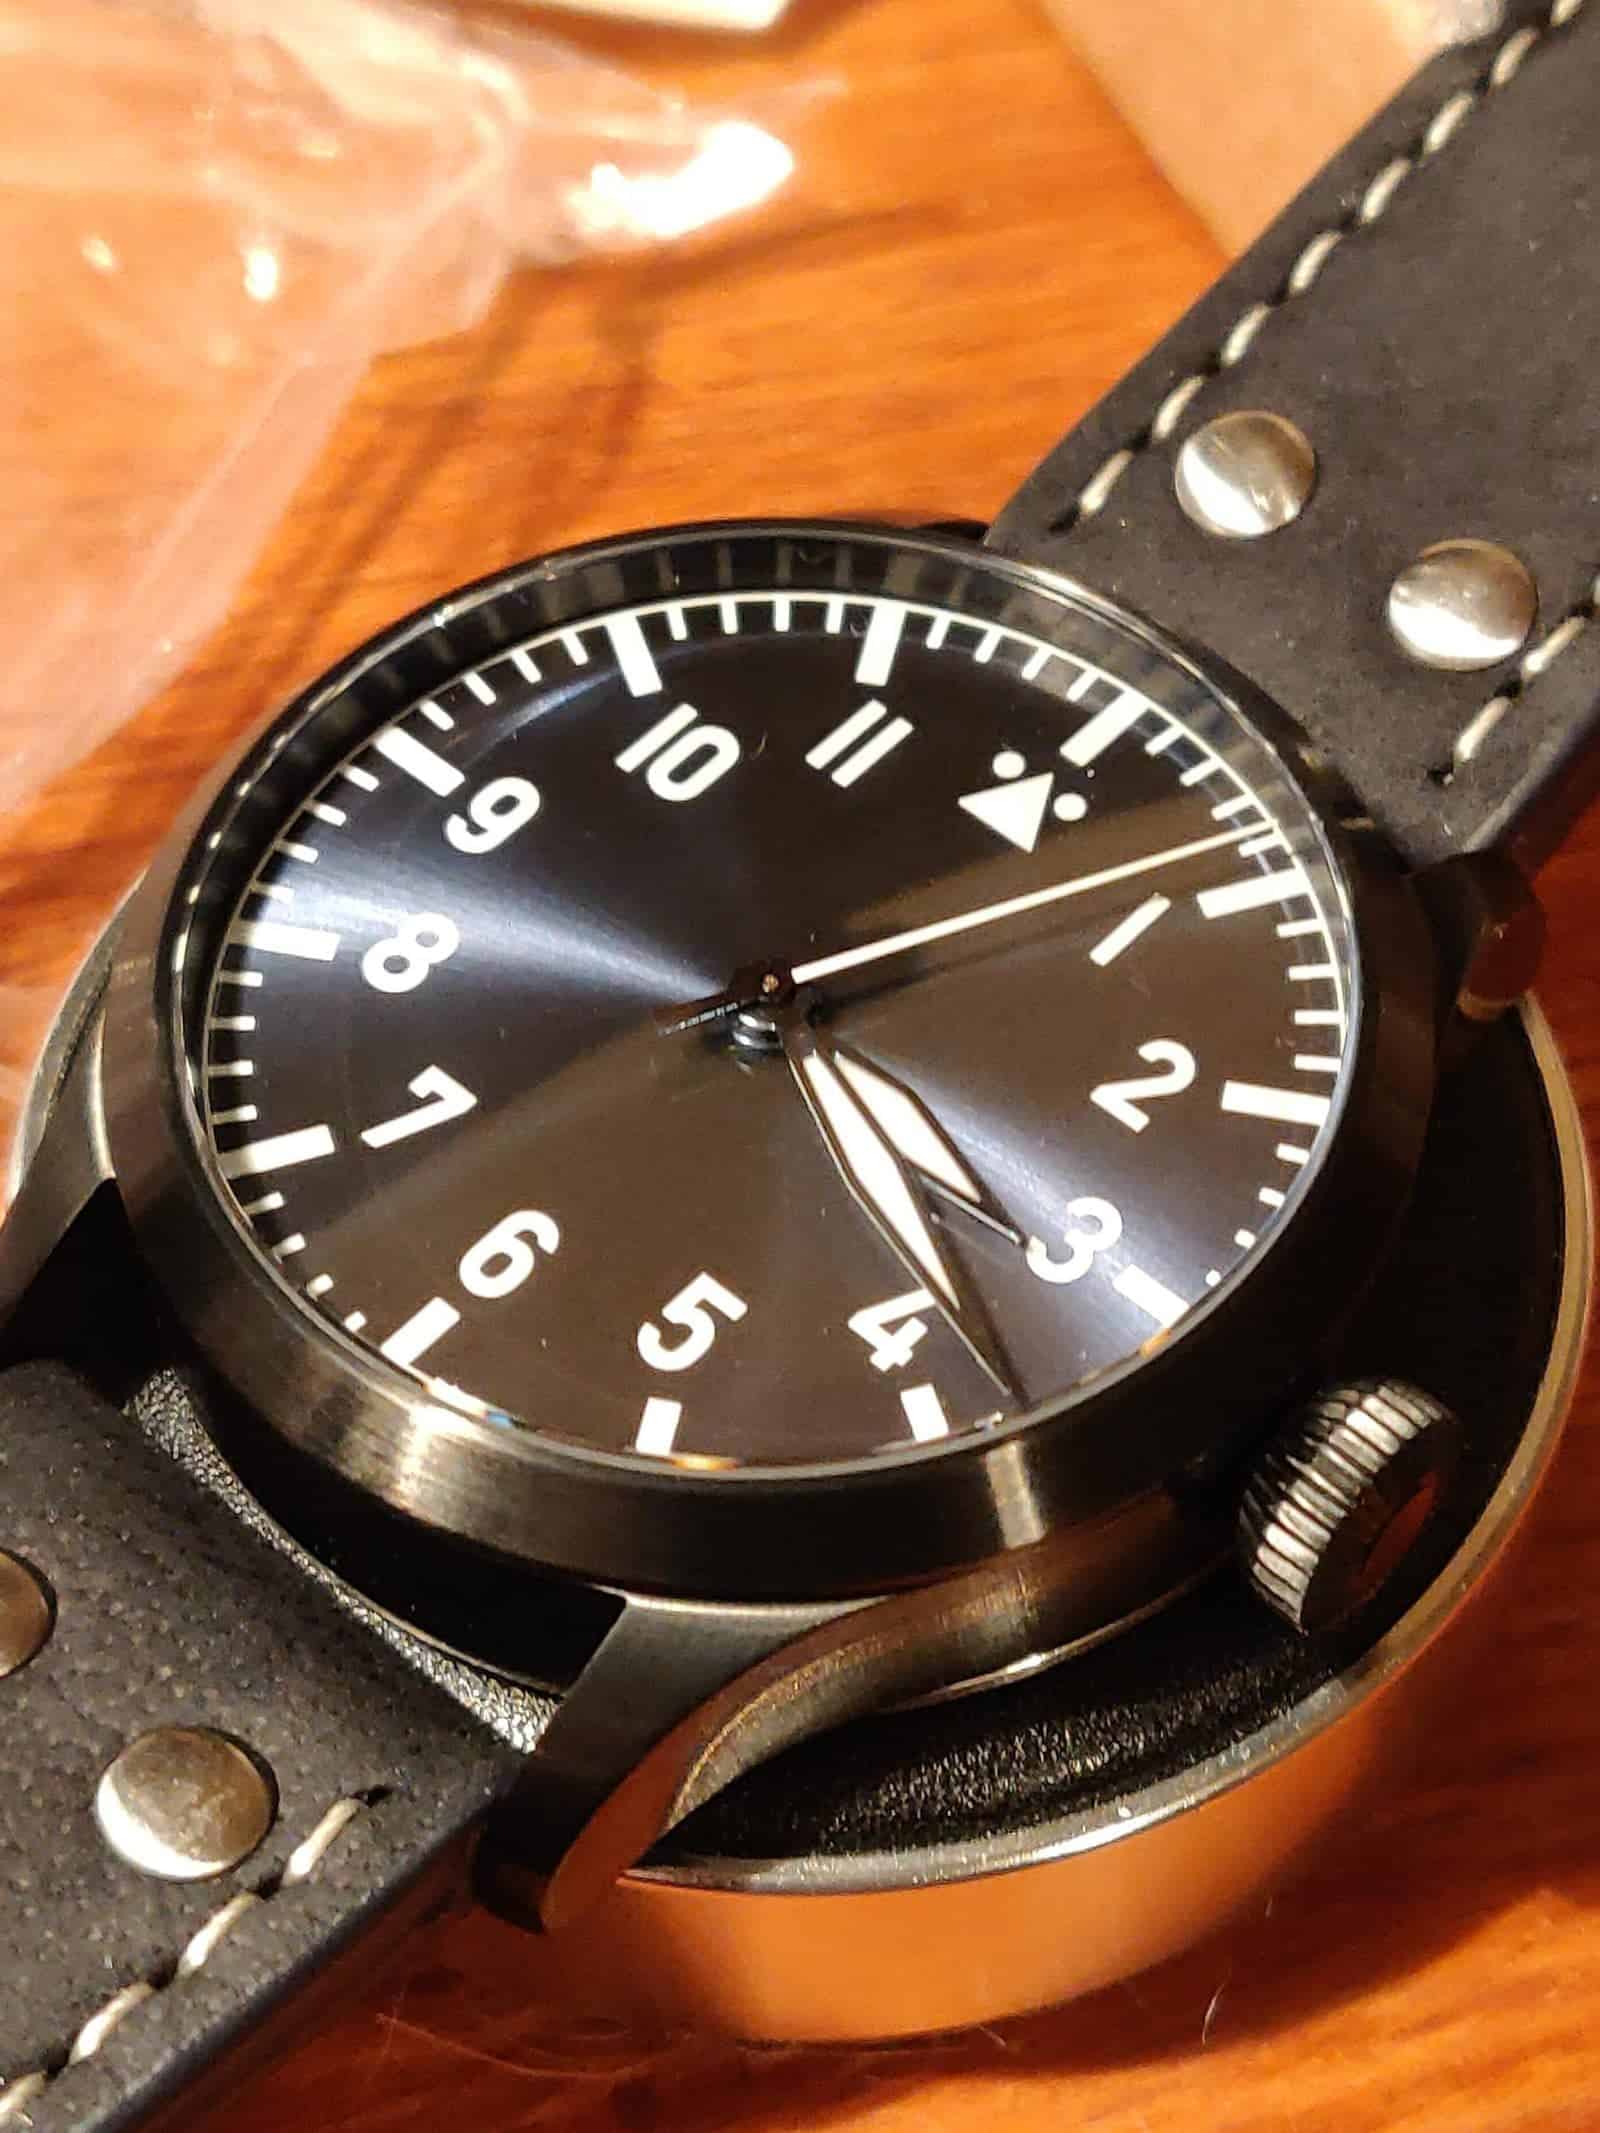
I present below the end result.
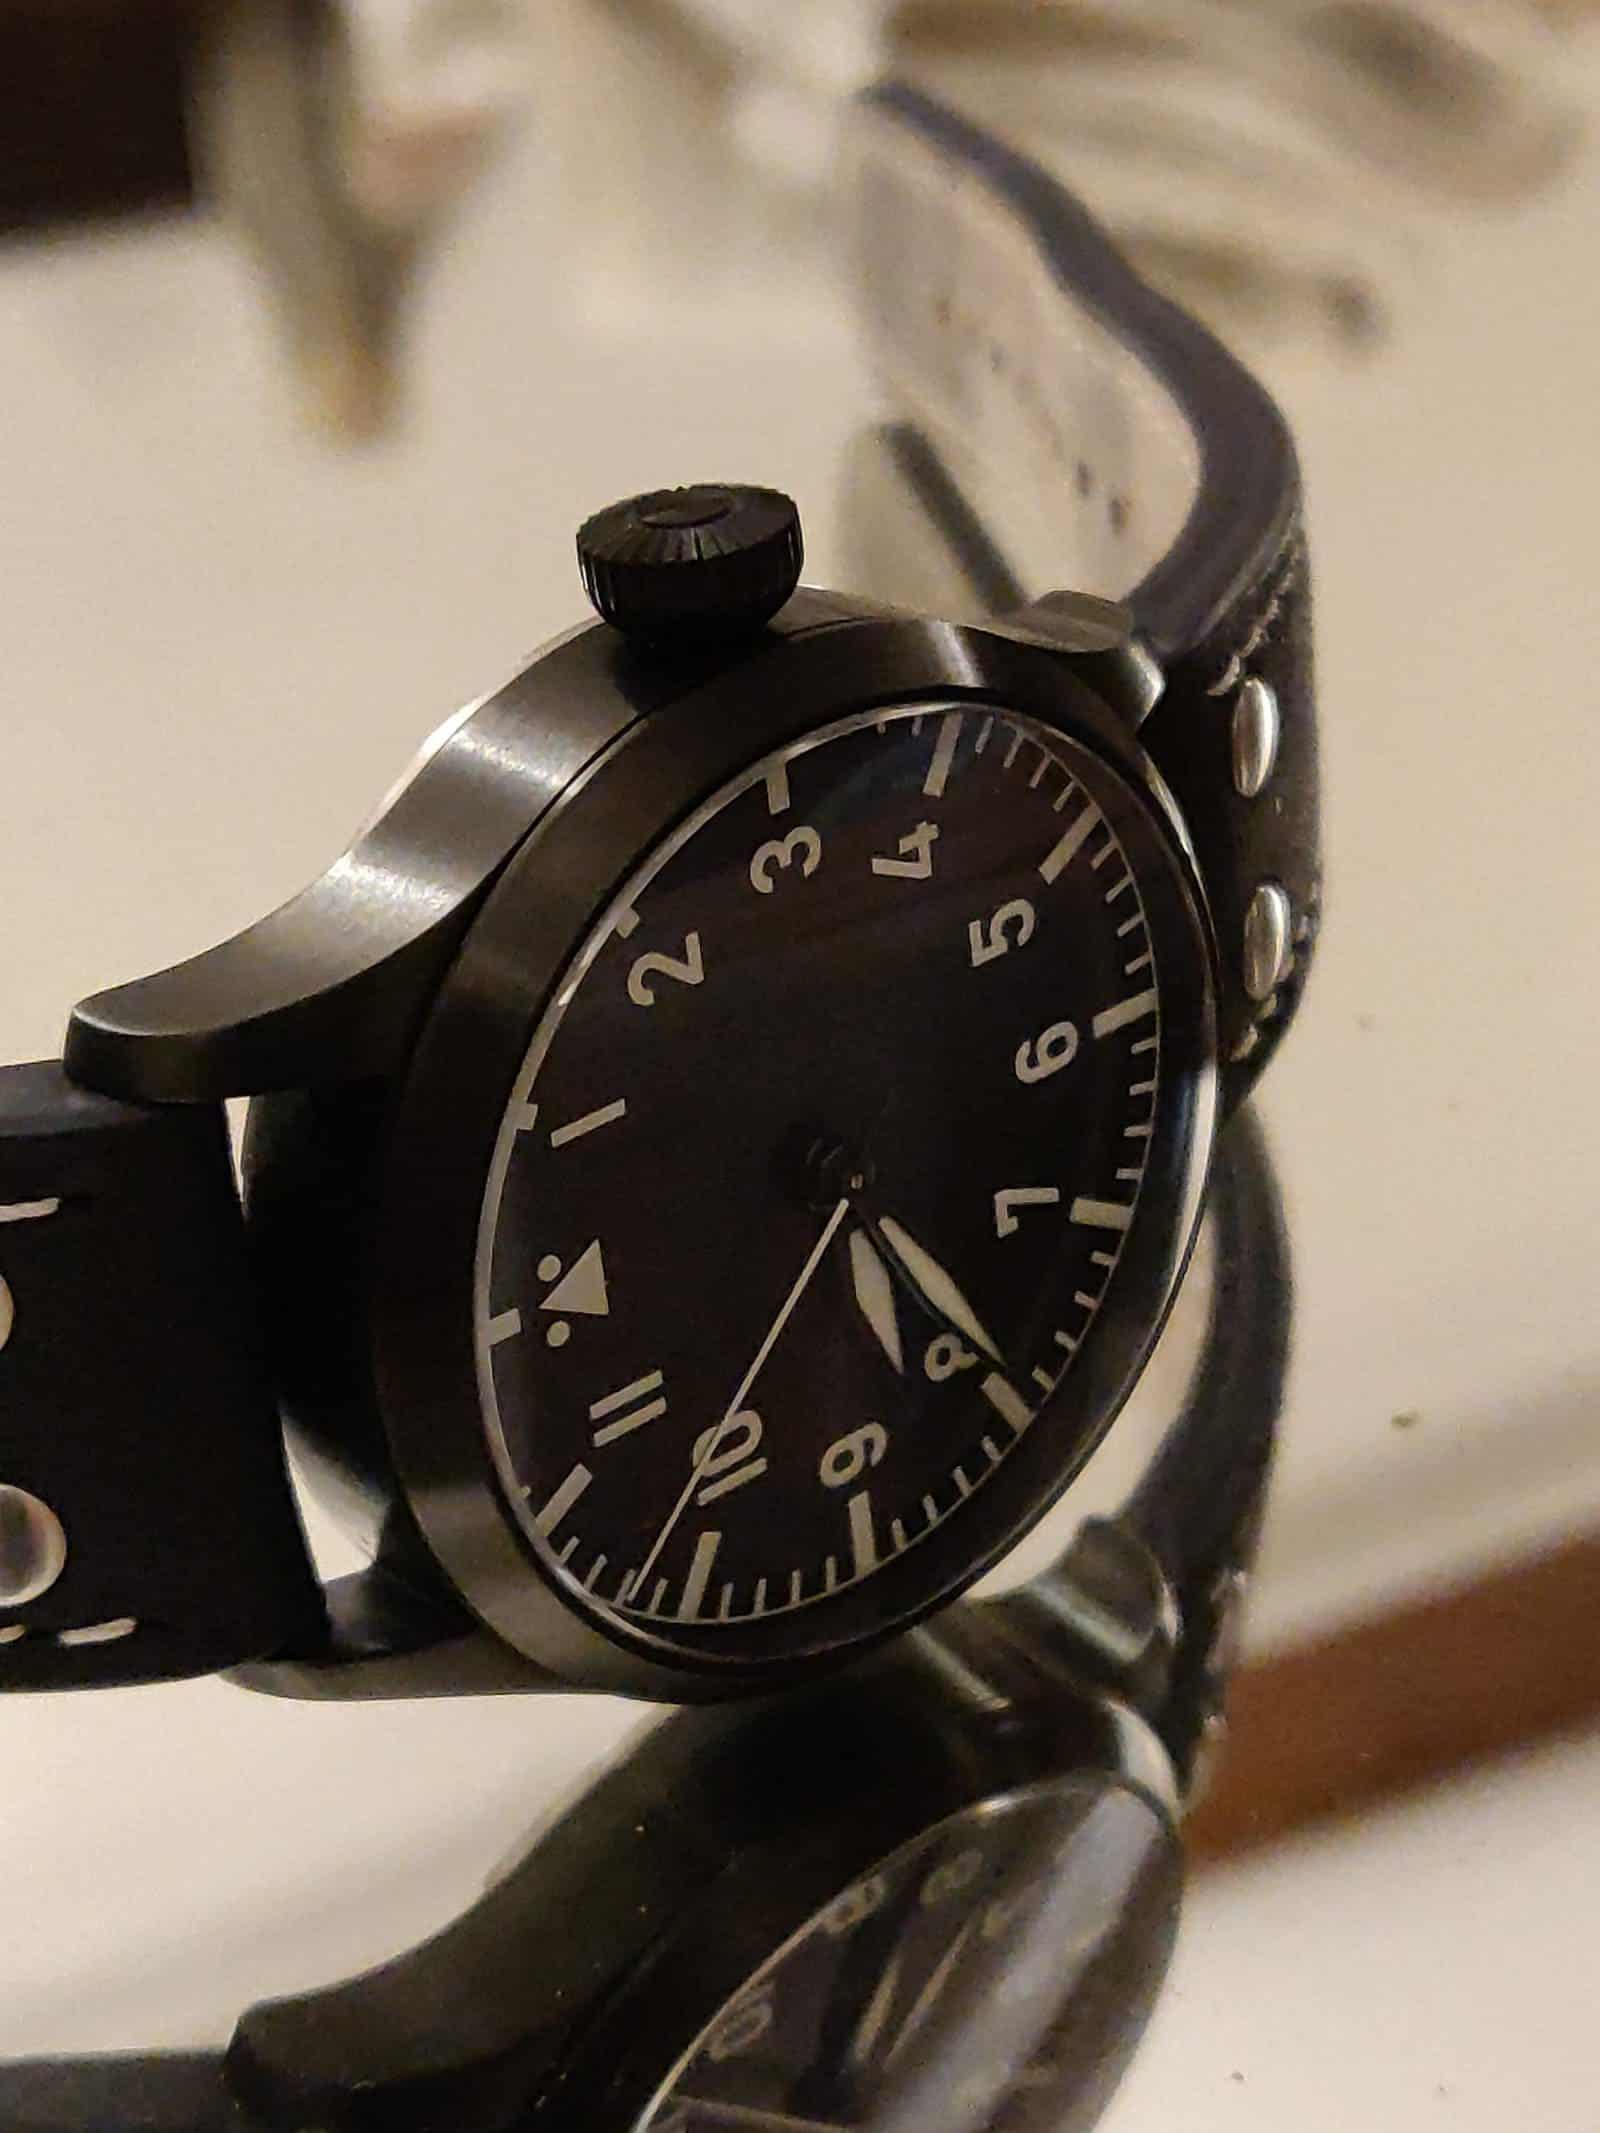

Overall, I found this second project much easier than the first. I avoided the mistakes of the previous one, when my clumsiness, or lack of experience, resulted in the hands being marked during installation. Although a loupe is needed to appreciate these marks, I know that the defect is there. I also improved the entire process to minimise dust on the dial, hands, movement, and the underside of the sapphire.
What this assembly definitely shares with the first, is the sheer joy that a build-your-watch brings. I want to sign off offering my assistance to any aficionado who wishes to undertake a project of this kind, which I highly recommend.